
Darkroom
Print examples Tips and Tricks
Posted by Bengt Köhler Sandberg 2013-06-22 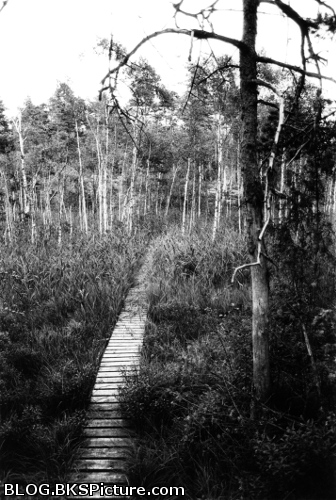 I often end up doing 2-4 full sized prints before im happy with the last one. I used in this print: Paper: Ilford MGIV RC Deluxe - satin Lens: El-Nikkor 50mm f/2.8 Aperture used: f/8 Contrast filter: Paterson variable gelatin filter nr 4 The exposure: Started by exposing the full print with 20 sec. This made a good exposure for the lower part of the print good but the grass in the middle could use a little more and the trees in the background needs more still. I then added about 10 sec from the top and went down till I have added about 2 sec at the base of the main tree. 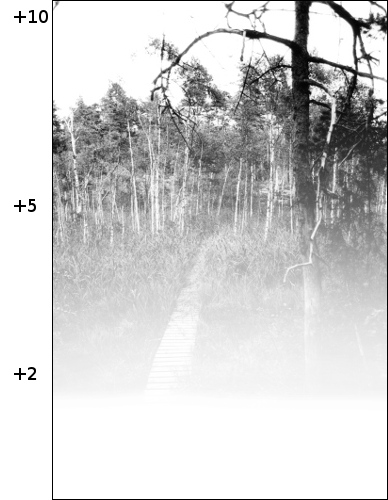 Quite
simple and I'm happy with the results.
One could maybe blocked some of the exposure on the top of the main tree during the first 20 sec exposure, this got a little on the dark. 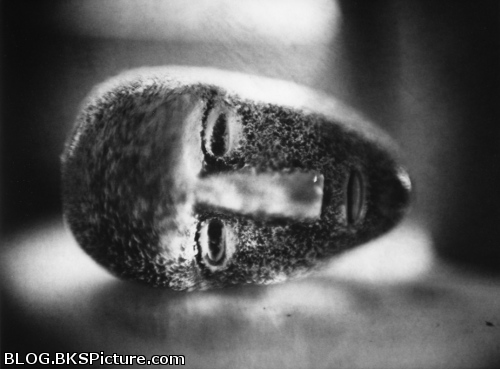 This is my first print where I enlarge a paper negative. Worked quite well but I needed a lot longer exposures than normal of course. I used in this print: Paper: Ilford MGIV RC Deluxe - satin Lens: Schneider - Kreuznach Componar 135mm f/4.5 Aperture used: f/5.6 Contrast filter: Paterson variable gelatin filter nr 3 and nr 5 The exposure: I wanted to have a high contrast print for this so I went for my highest contrast filter. I got a good exposure on the head but the surroundings was next to all gone and this needed a lot more exposure to be visible with that high contrast filter. But the surroundings looked good and didn't need as long exposure with a medium contrast filter (nr3) So I started by exposing the full print for 6 min with Paterson filter 5. This was the exposure for the head. Then changed the Paterson filter to a nr3. Exposed the print for 5 min. Blocked the head during this whole exposure but I moved the dodging tool fairly much so these two exposures blended in together. Holding the dodging tool for 5 min was maybe not the funnier thing I done but are very happy with the results. So more paper negatives will shortly be enlarged in the future. 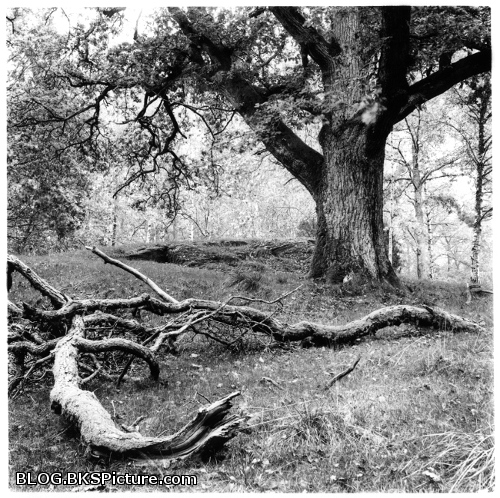 This is one of the more complicated exposure I done so far when it comes to burning. But all the more fun when you get happy with the end results. I used in this print: Paper: Ilford MGIV RC Deluxe - satin Lens: El-Nikkor 80mm f/4 Aperture used: f/11 Contrast filter: Paterson variable gelatin filter nr 4 The exposure: Started by exposing the full print with 45 sec. This made a good exposure for the big tree and the grass to the side of the tree. But most other things are to bright while some are way too bright. Added about 15 sec on the background just under the big trees branches. 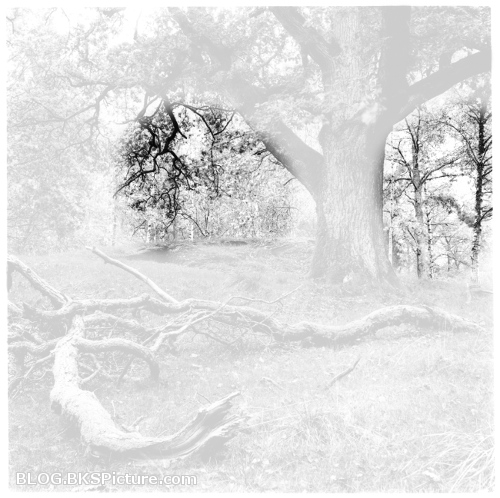 + 10-15 sec 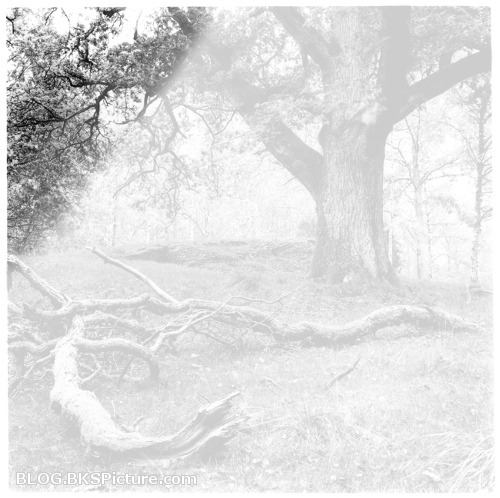 + 15-20 sec 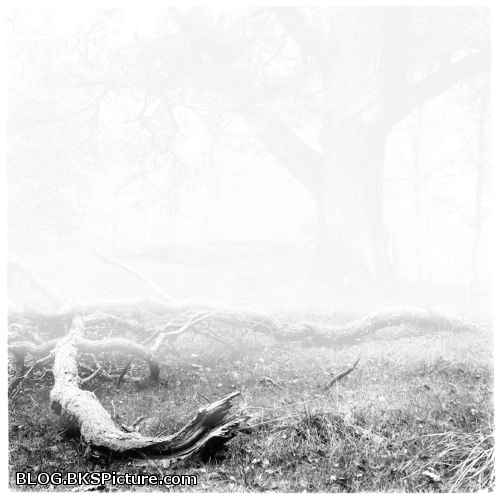 + 30-45 sec  I could maybe have done a longer base exposure and dodged some of the exposure from the tree and surrounding grass. But in this case I had to dodge such small things and still have to do much of the same burning but with less time. That was all for this, but I also have some related posts about darkroom use: Develop B&W Film or Paper Enlarging Print Basics Burning and Dodging Controlling Contrast Contact Printing Writing down what you are doing Print examples Want
to help me out?
Make my site known by sharing it with your friends and family. This helps and would be really appreciated, thanks!
My facebook page

|
 |