
Paper Negative
Better results with Paper negative Tips and Tricks
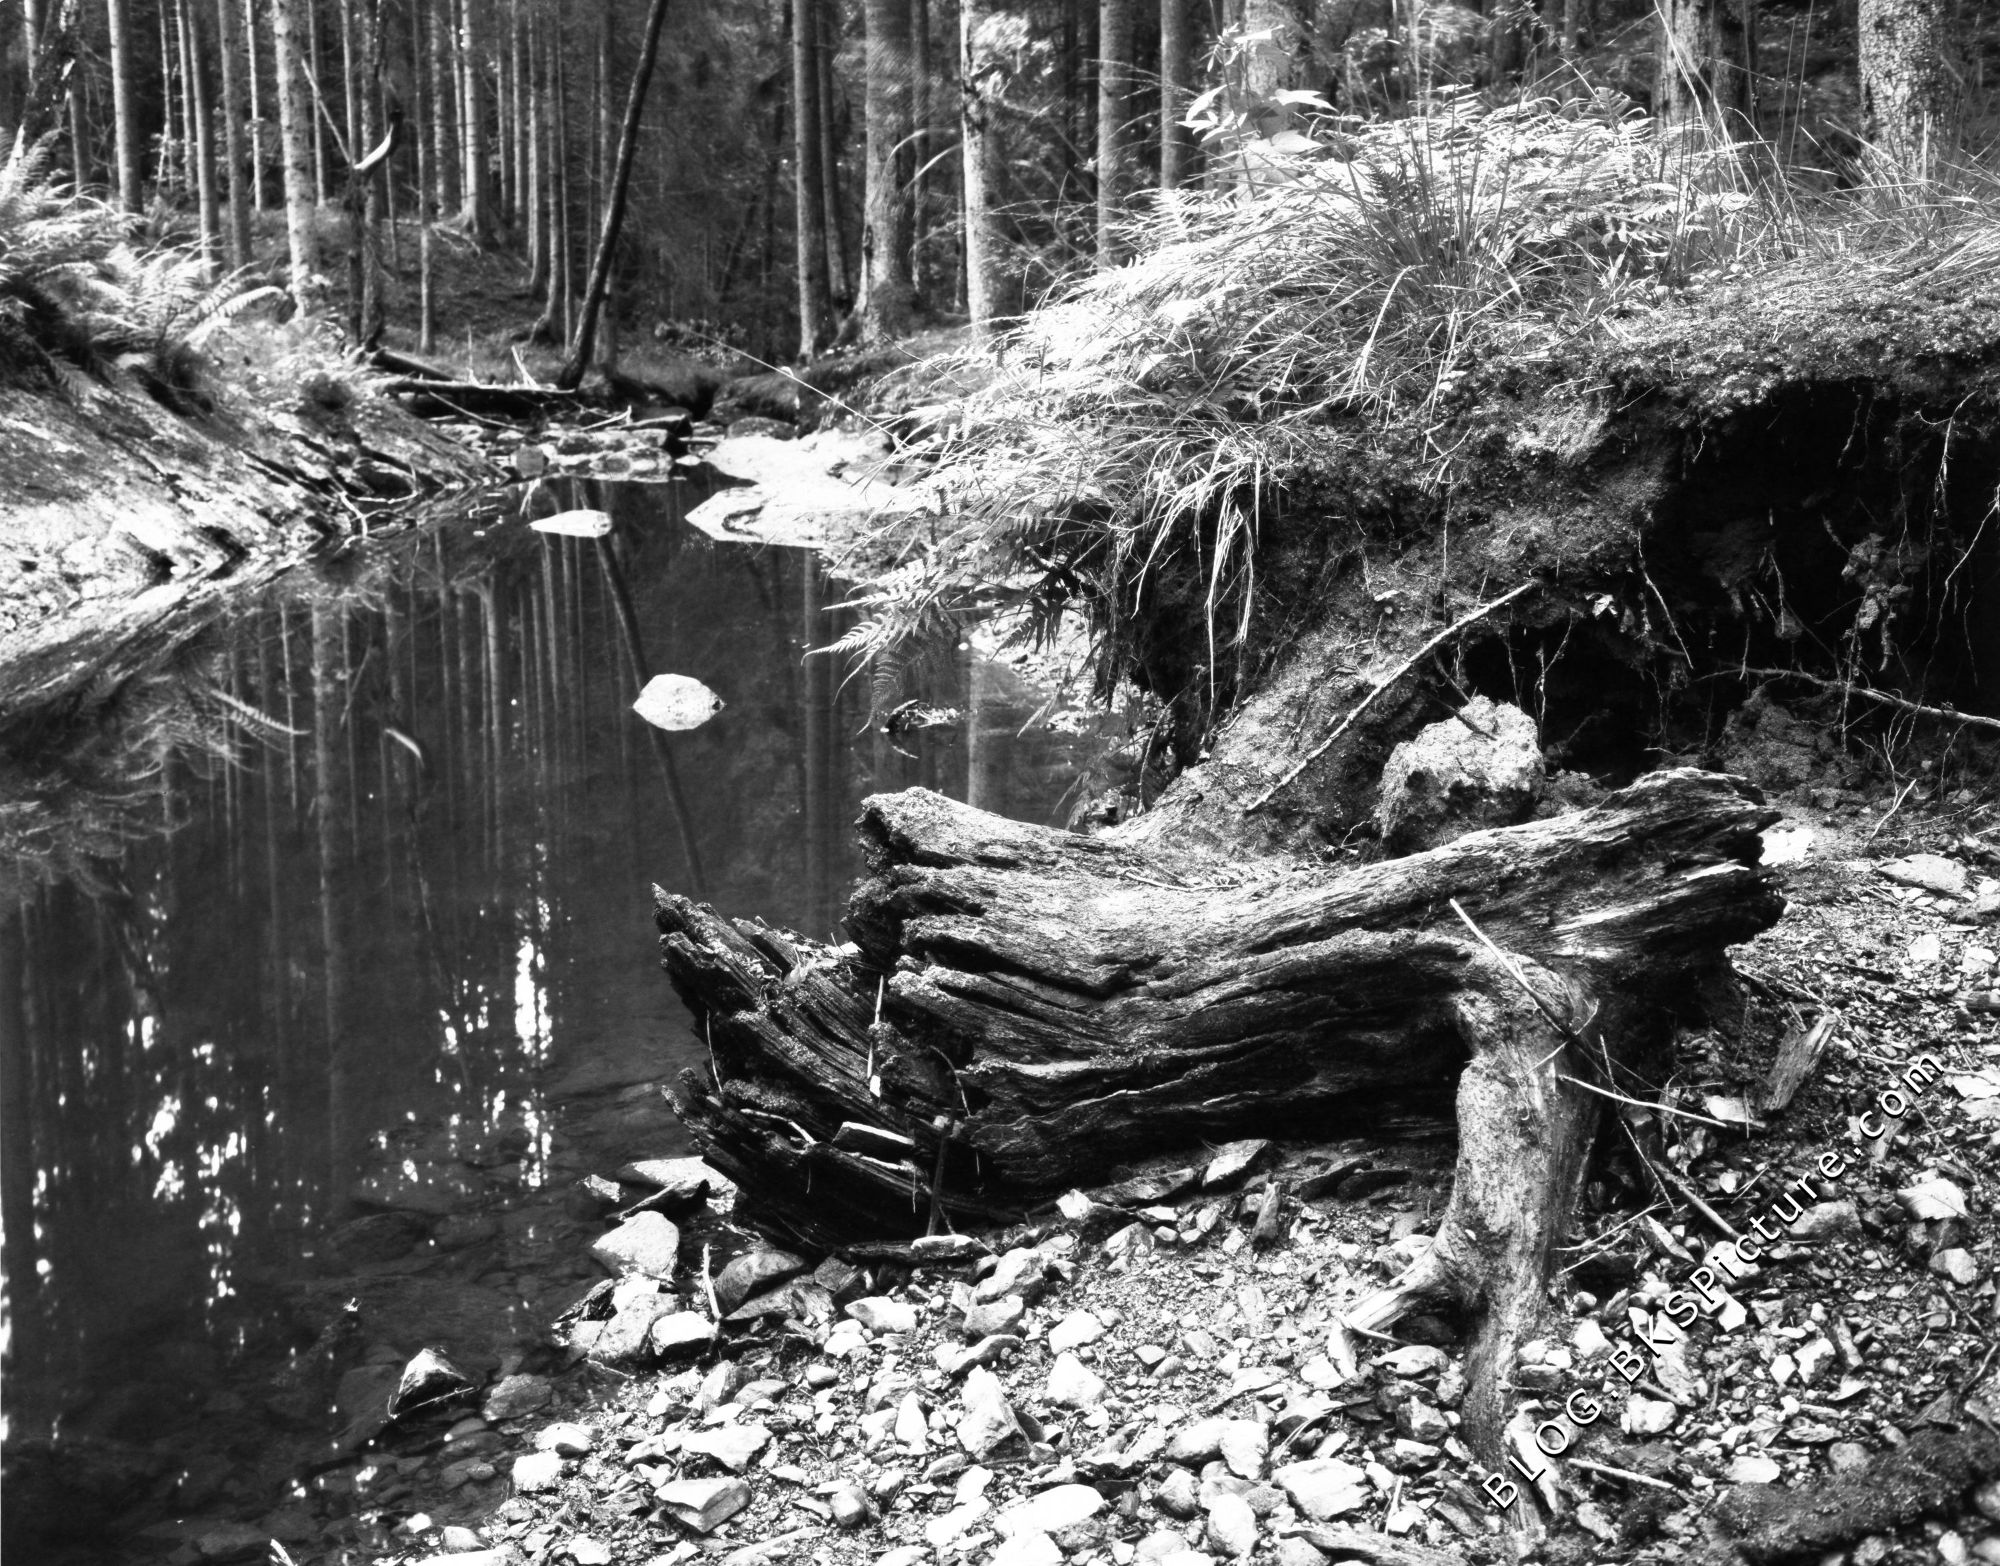
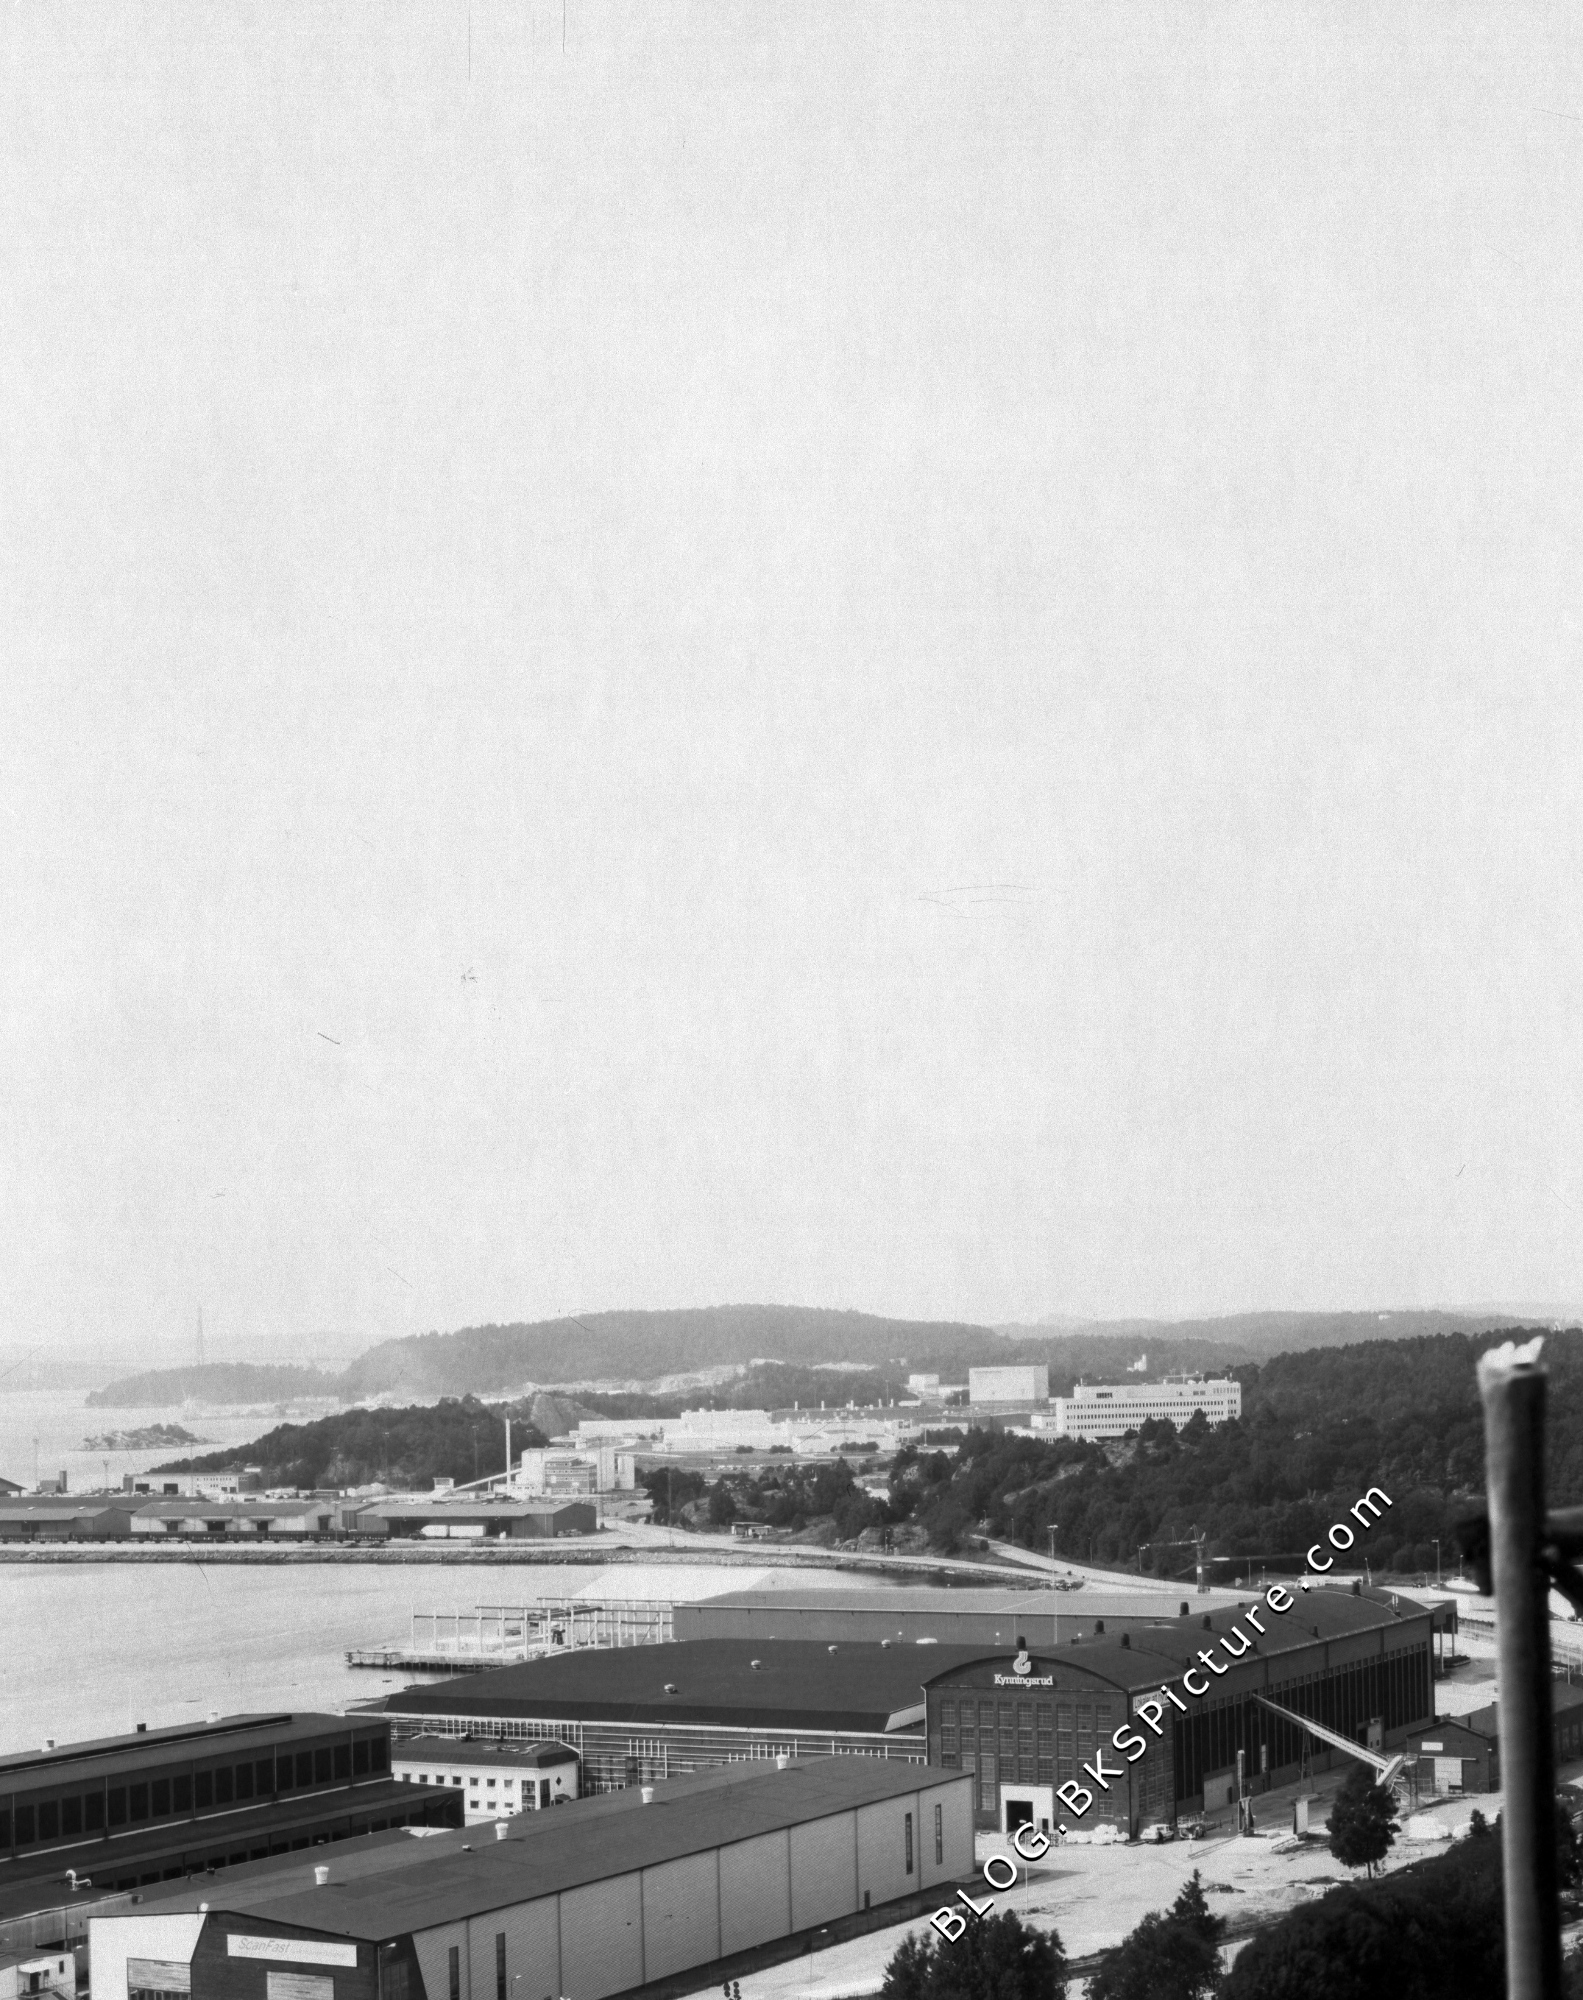
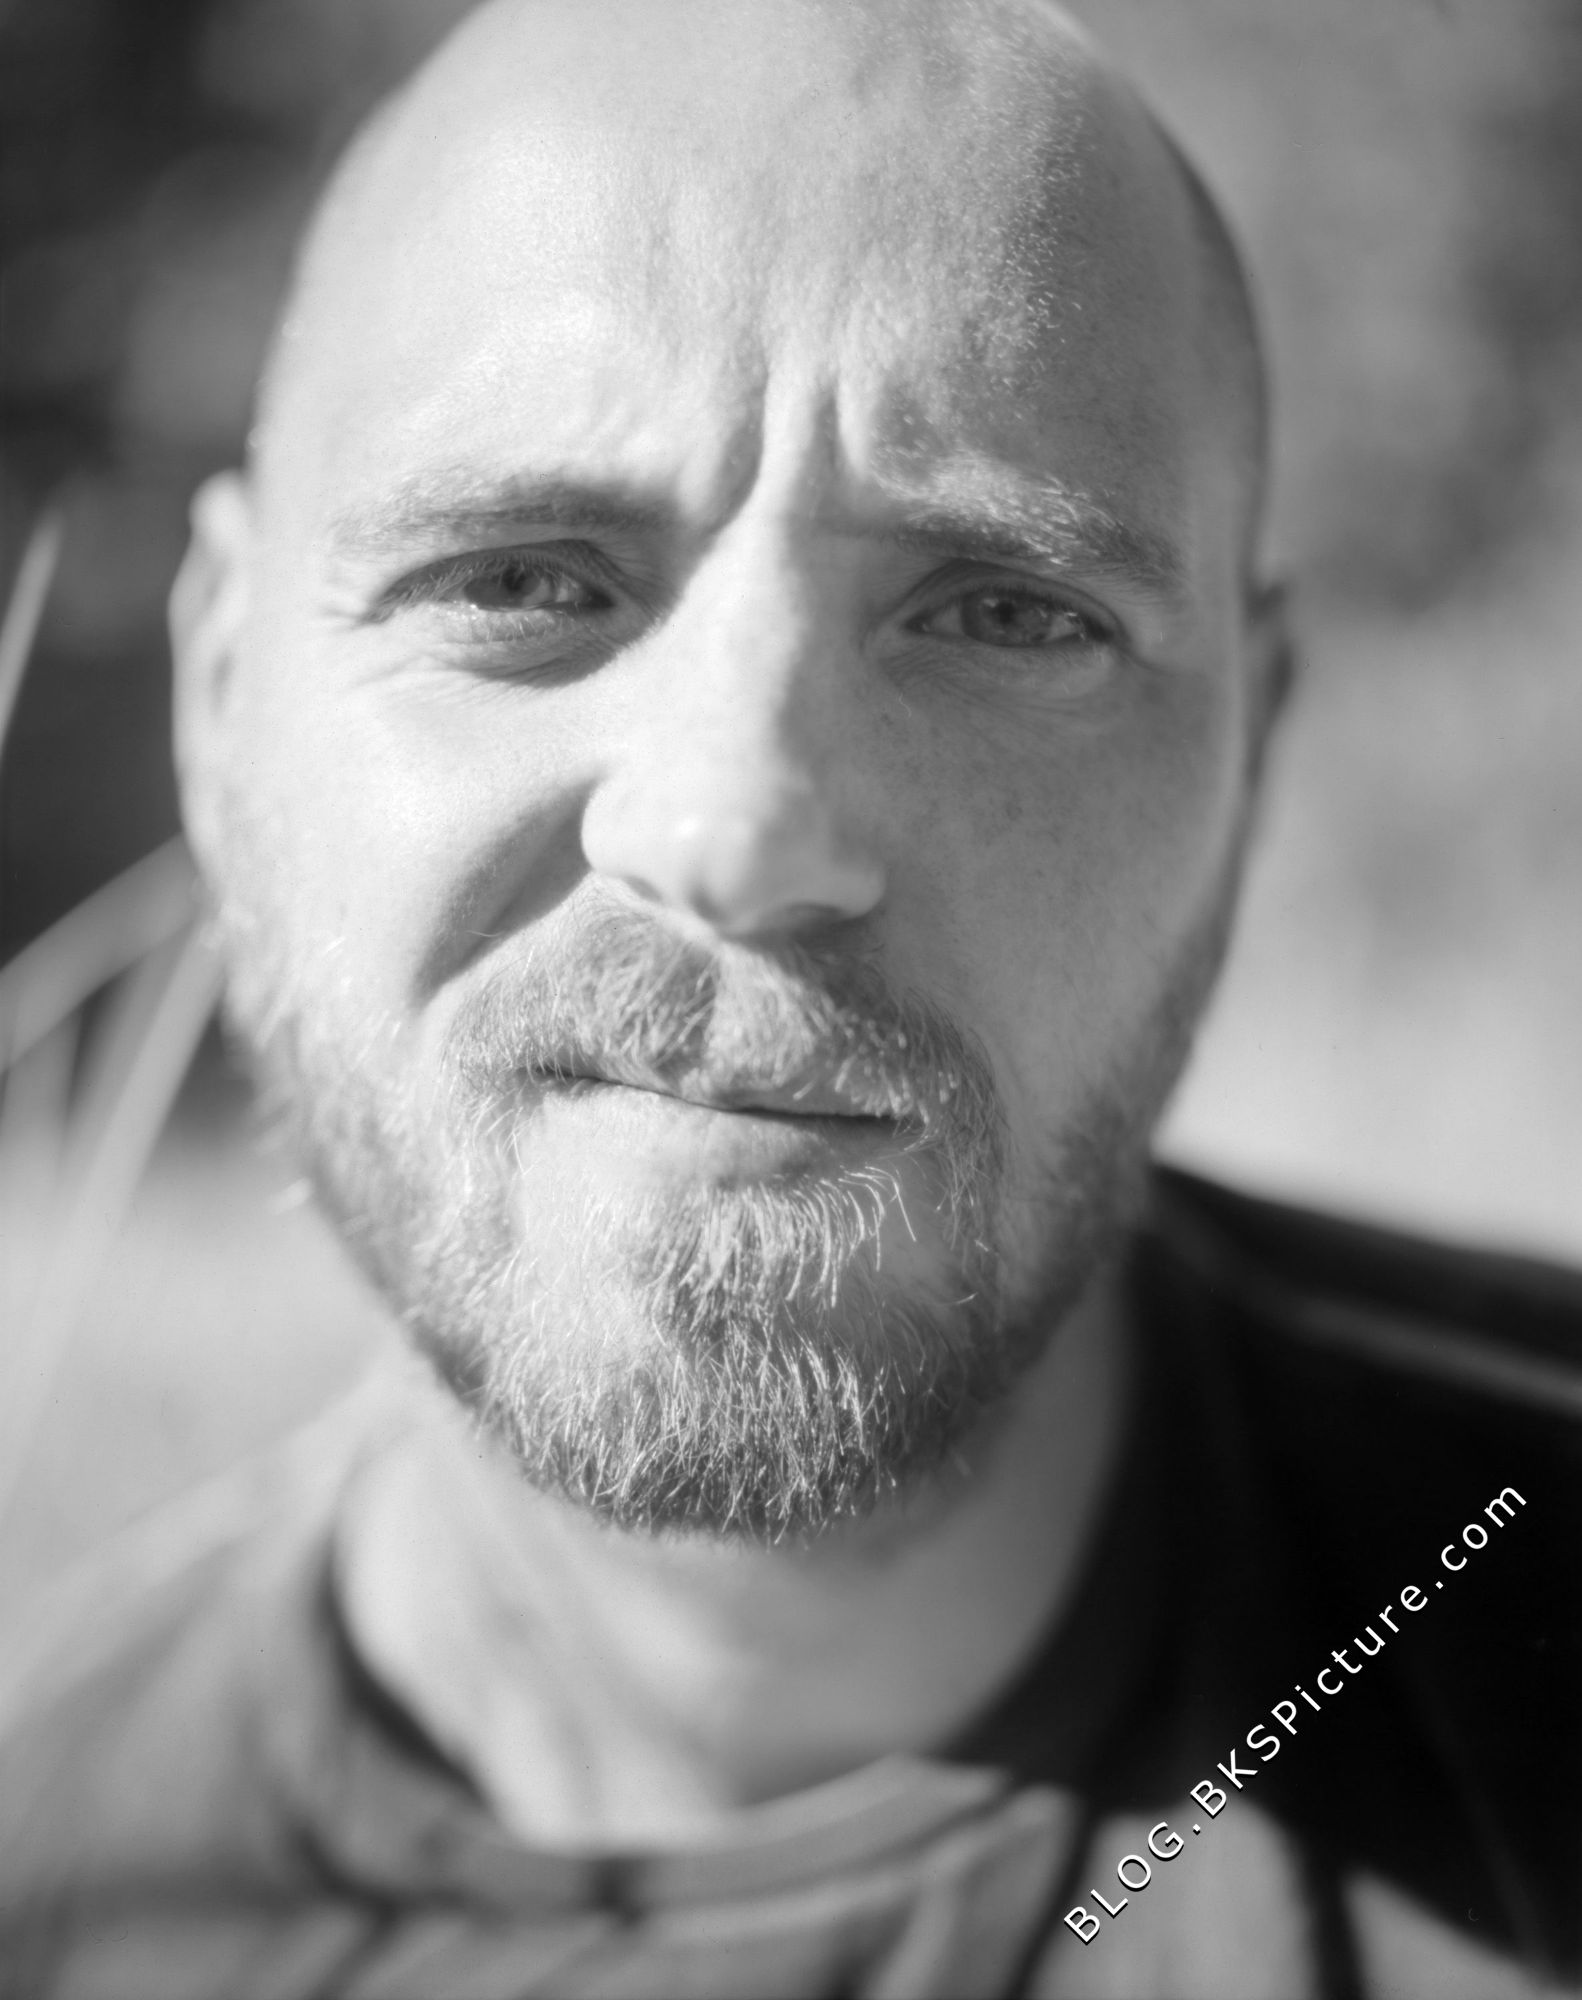
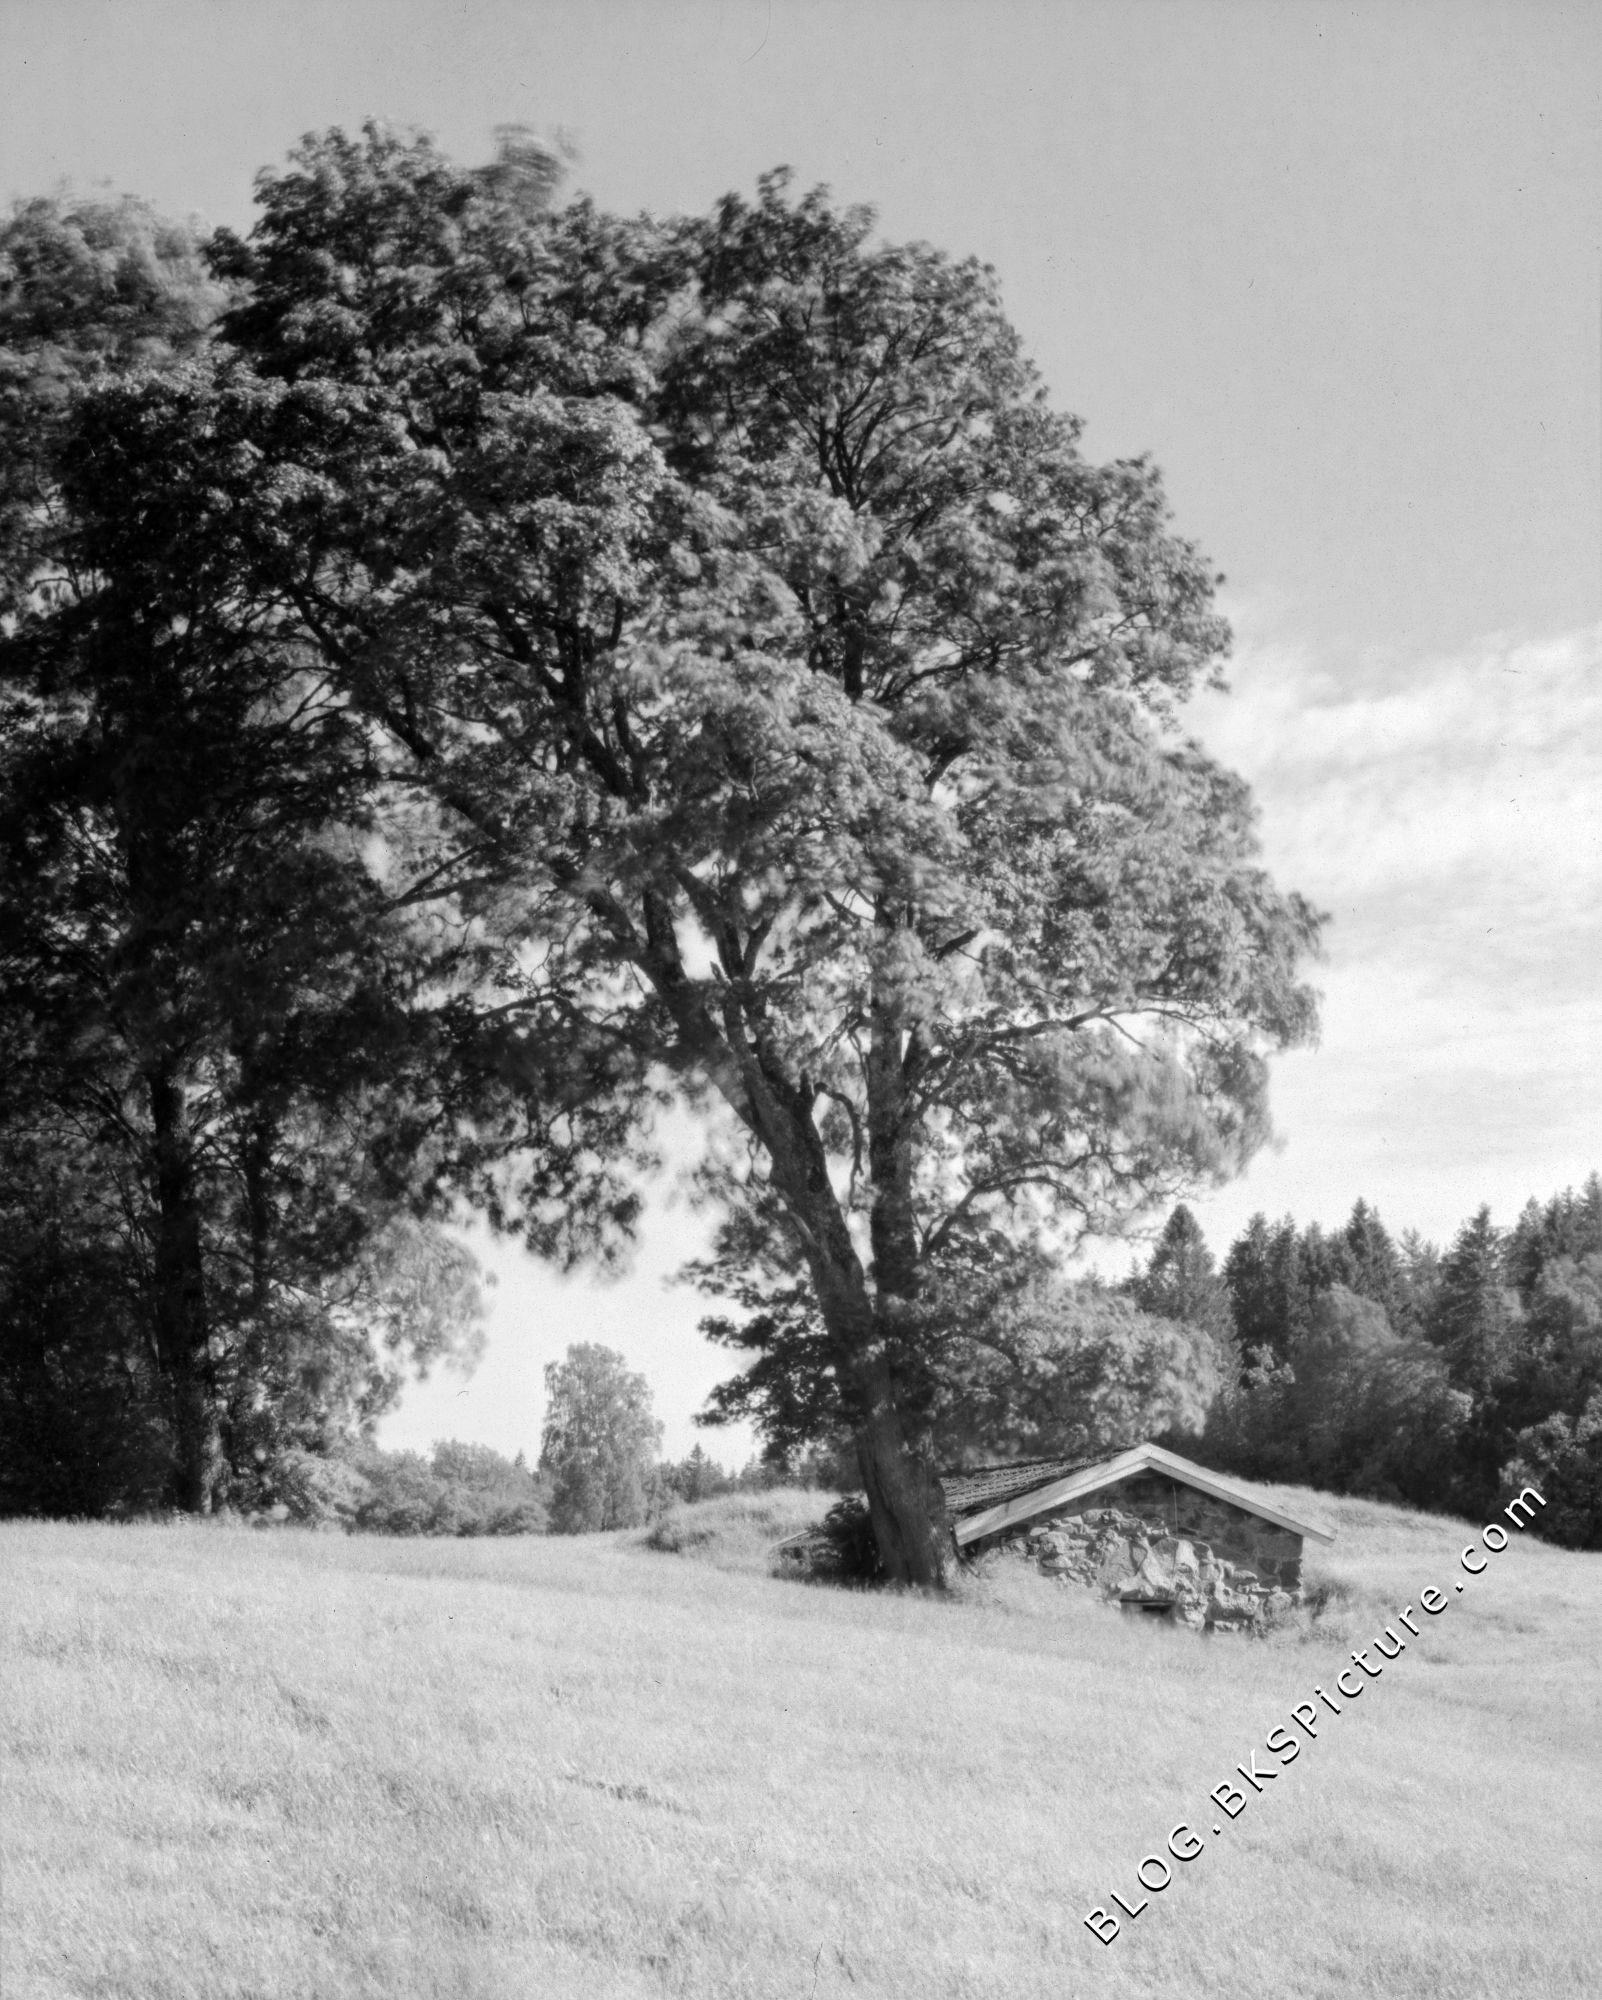
Posted by Bengt Köhler Sandberg 2017-07-11 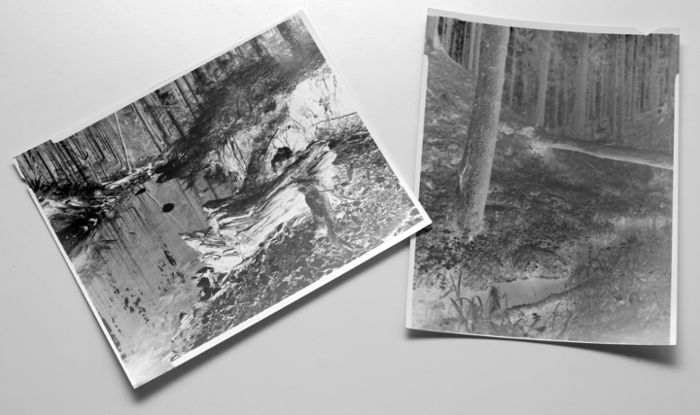 There are a few ways to address this and of course different paper, developer etc will give different results. But two big things that can affect this are the use of color filters and at what ISO you expose at. Pre-Flashing your papers can also help with lessening the contrast and increase highlight detail. Color filter: The importance of this depends if you use Multi-Contrast or Graded paper. Multi-Contrast paper are made so you can use a color filter to get more or less contrast to the finished image. Using this paper in your camera with no filter can result in a bit odd looking contrast and find it pretty much a must to use one. Graded papers have a fixed contrast, have not used these myself but would expect that filter use are less important. Except that the paper are not sensitive to red light. ISO to use: Of course different papers have different light sensitivity and color filters that are one the red light spectrum side will lower the sensitivity (yellow, orange and red). But push the paper to its maximum ISO and you will get higher contrast and less detail in shadows etc. Expose after a lower ISO and you will get less contrast and more detail in shadows etc. However this is not something you want to overdo or you'll end up with a image that are too flat. So there is a sweet spot and that might change depending on the light conditions and if a color filter is used. This is probably in part why many end up with high contrast paper negatives. As standard use with making darkroom prints are pushing the print to the max in terms of ISO and develop it in high concentrated developer for fast developing. But standard use of film is to not push it to the max and you develop in highly diluted developer for longer developing time. Examples images: These are taken with Foma Fomaspeed variant 312 which is the paper I have used the most. It's a Multi-Contrast paper and has a pretty high ISO for darkroom paper standards. @ ISO 12 which is the most I could push it to.
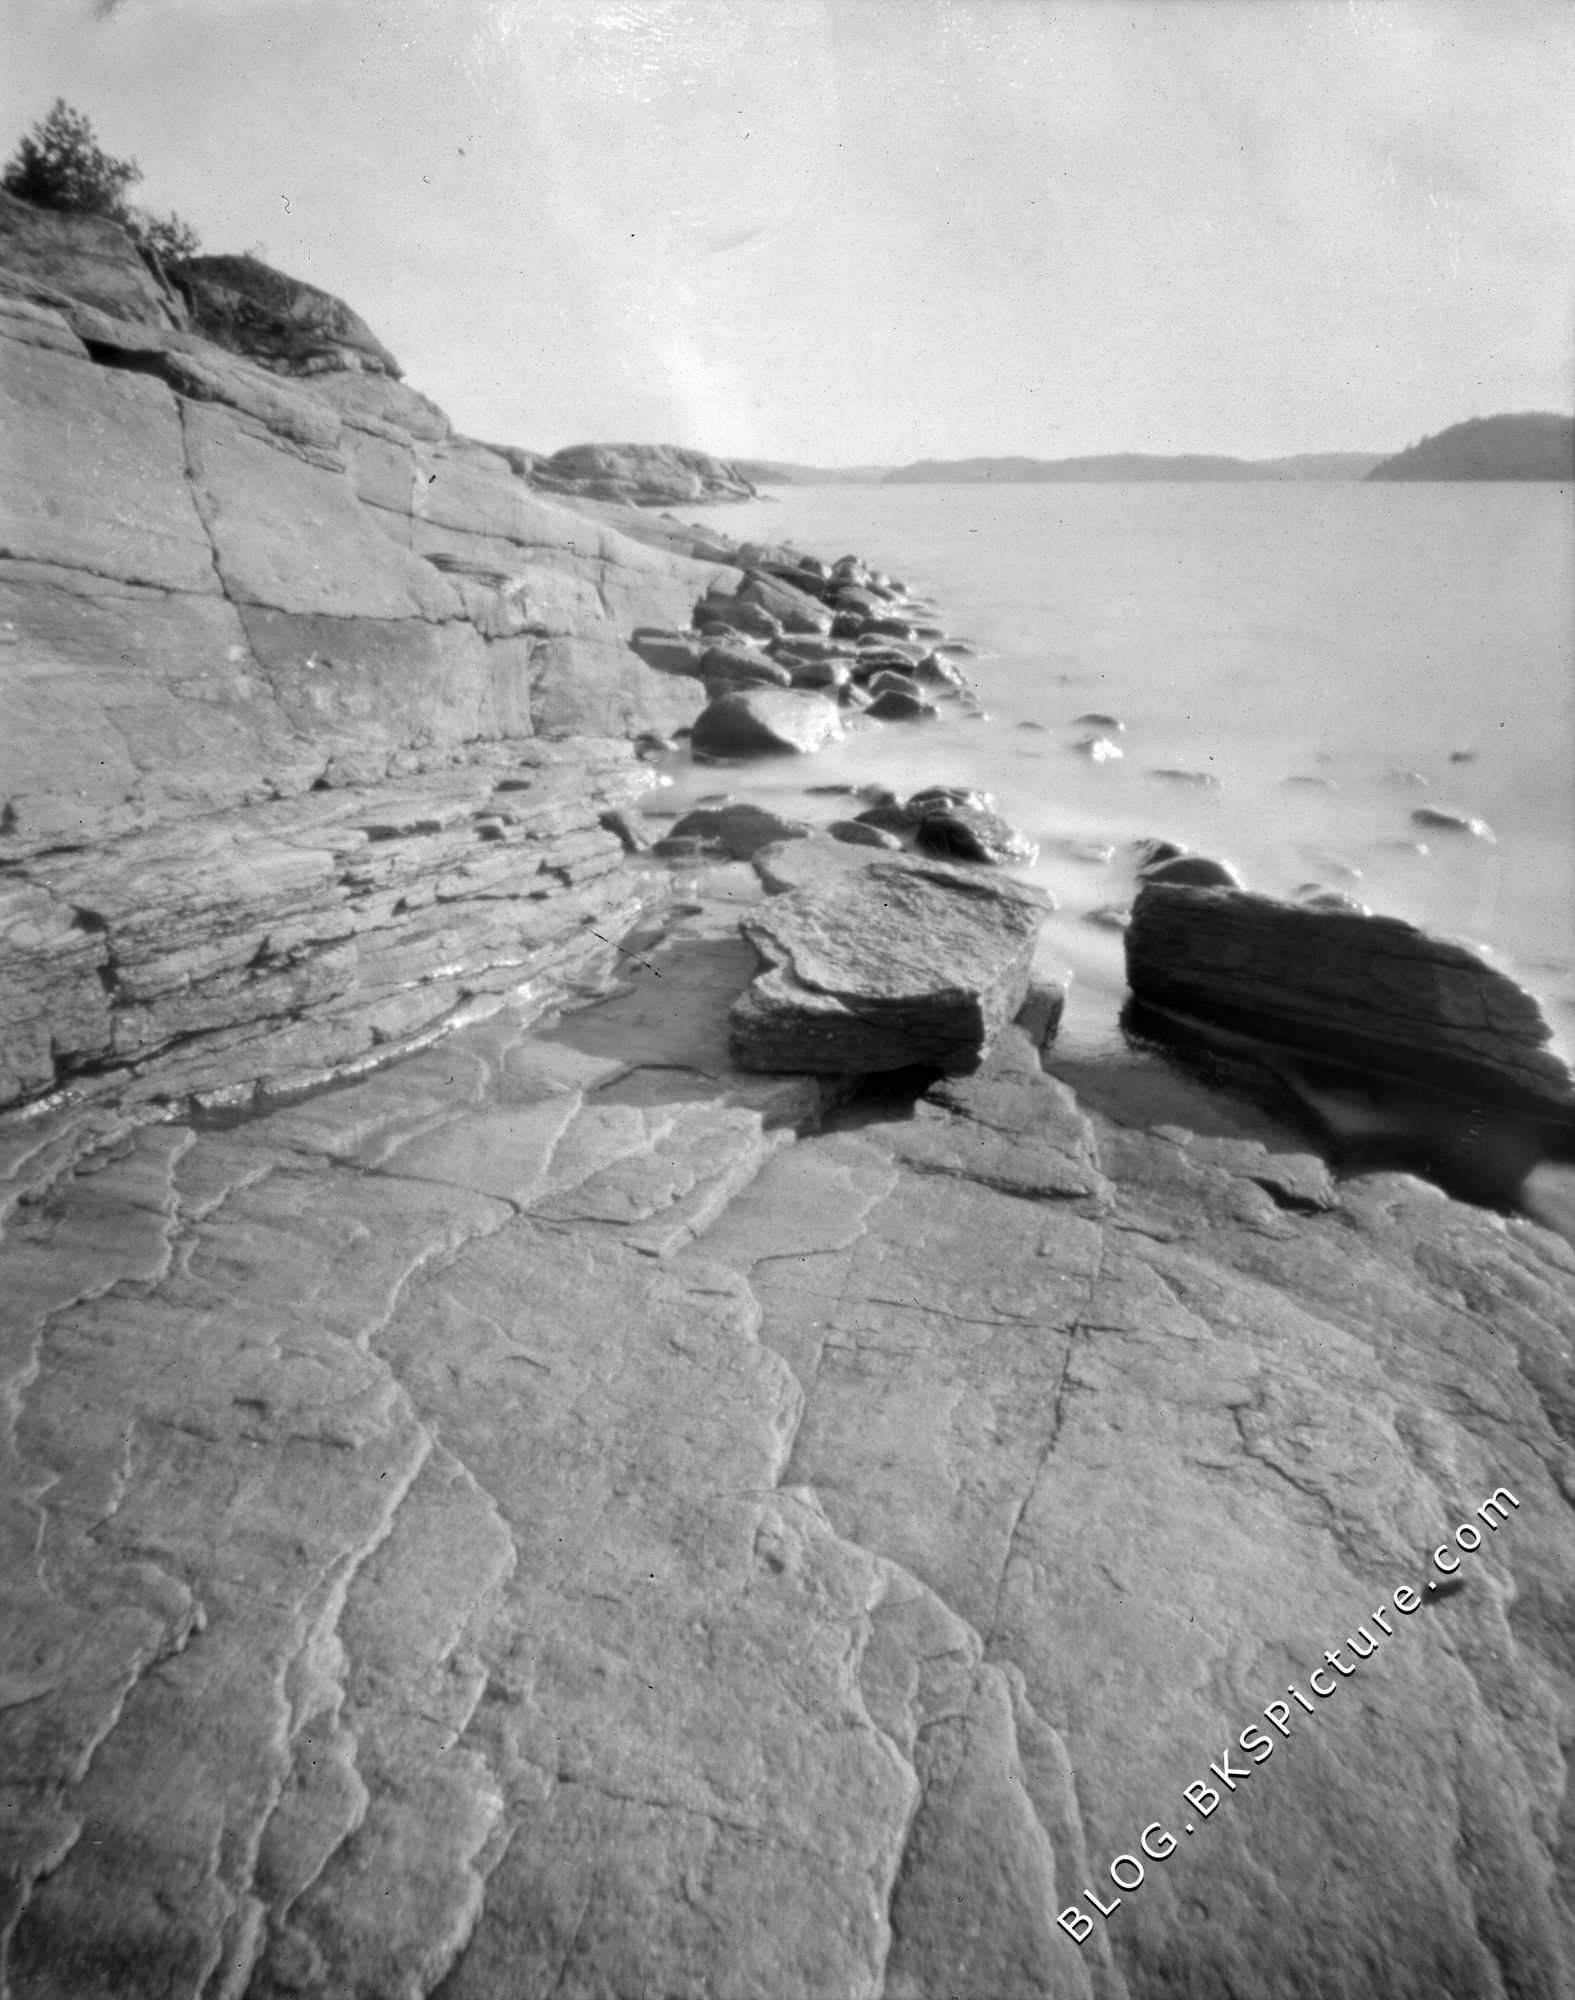
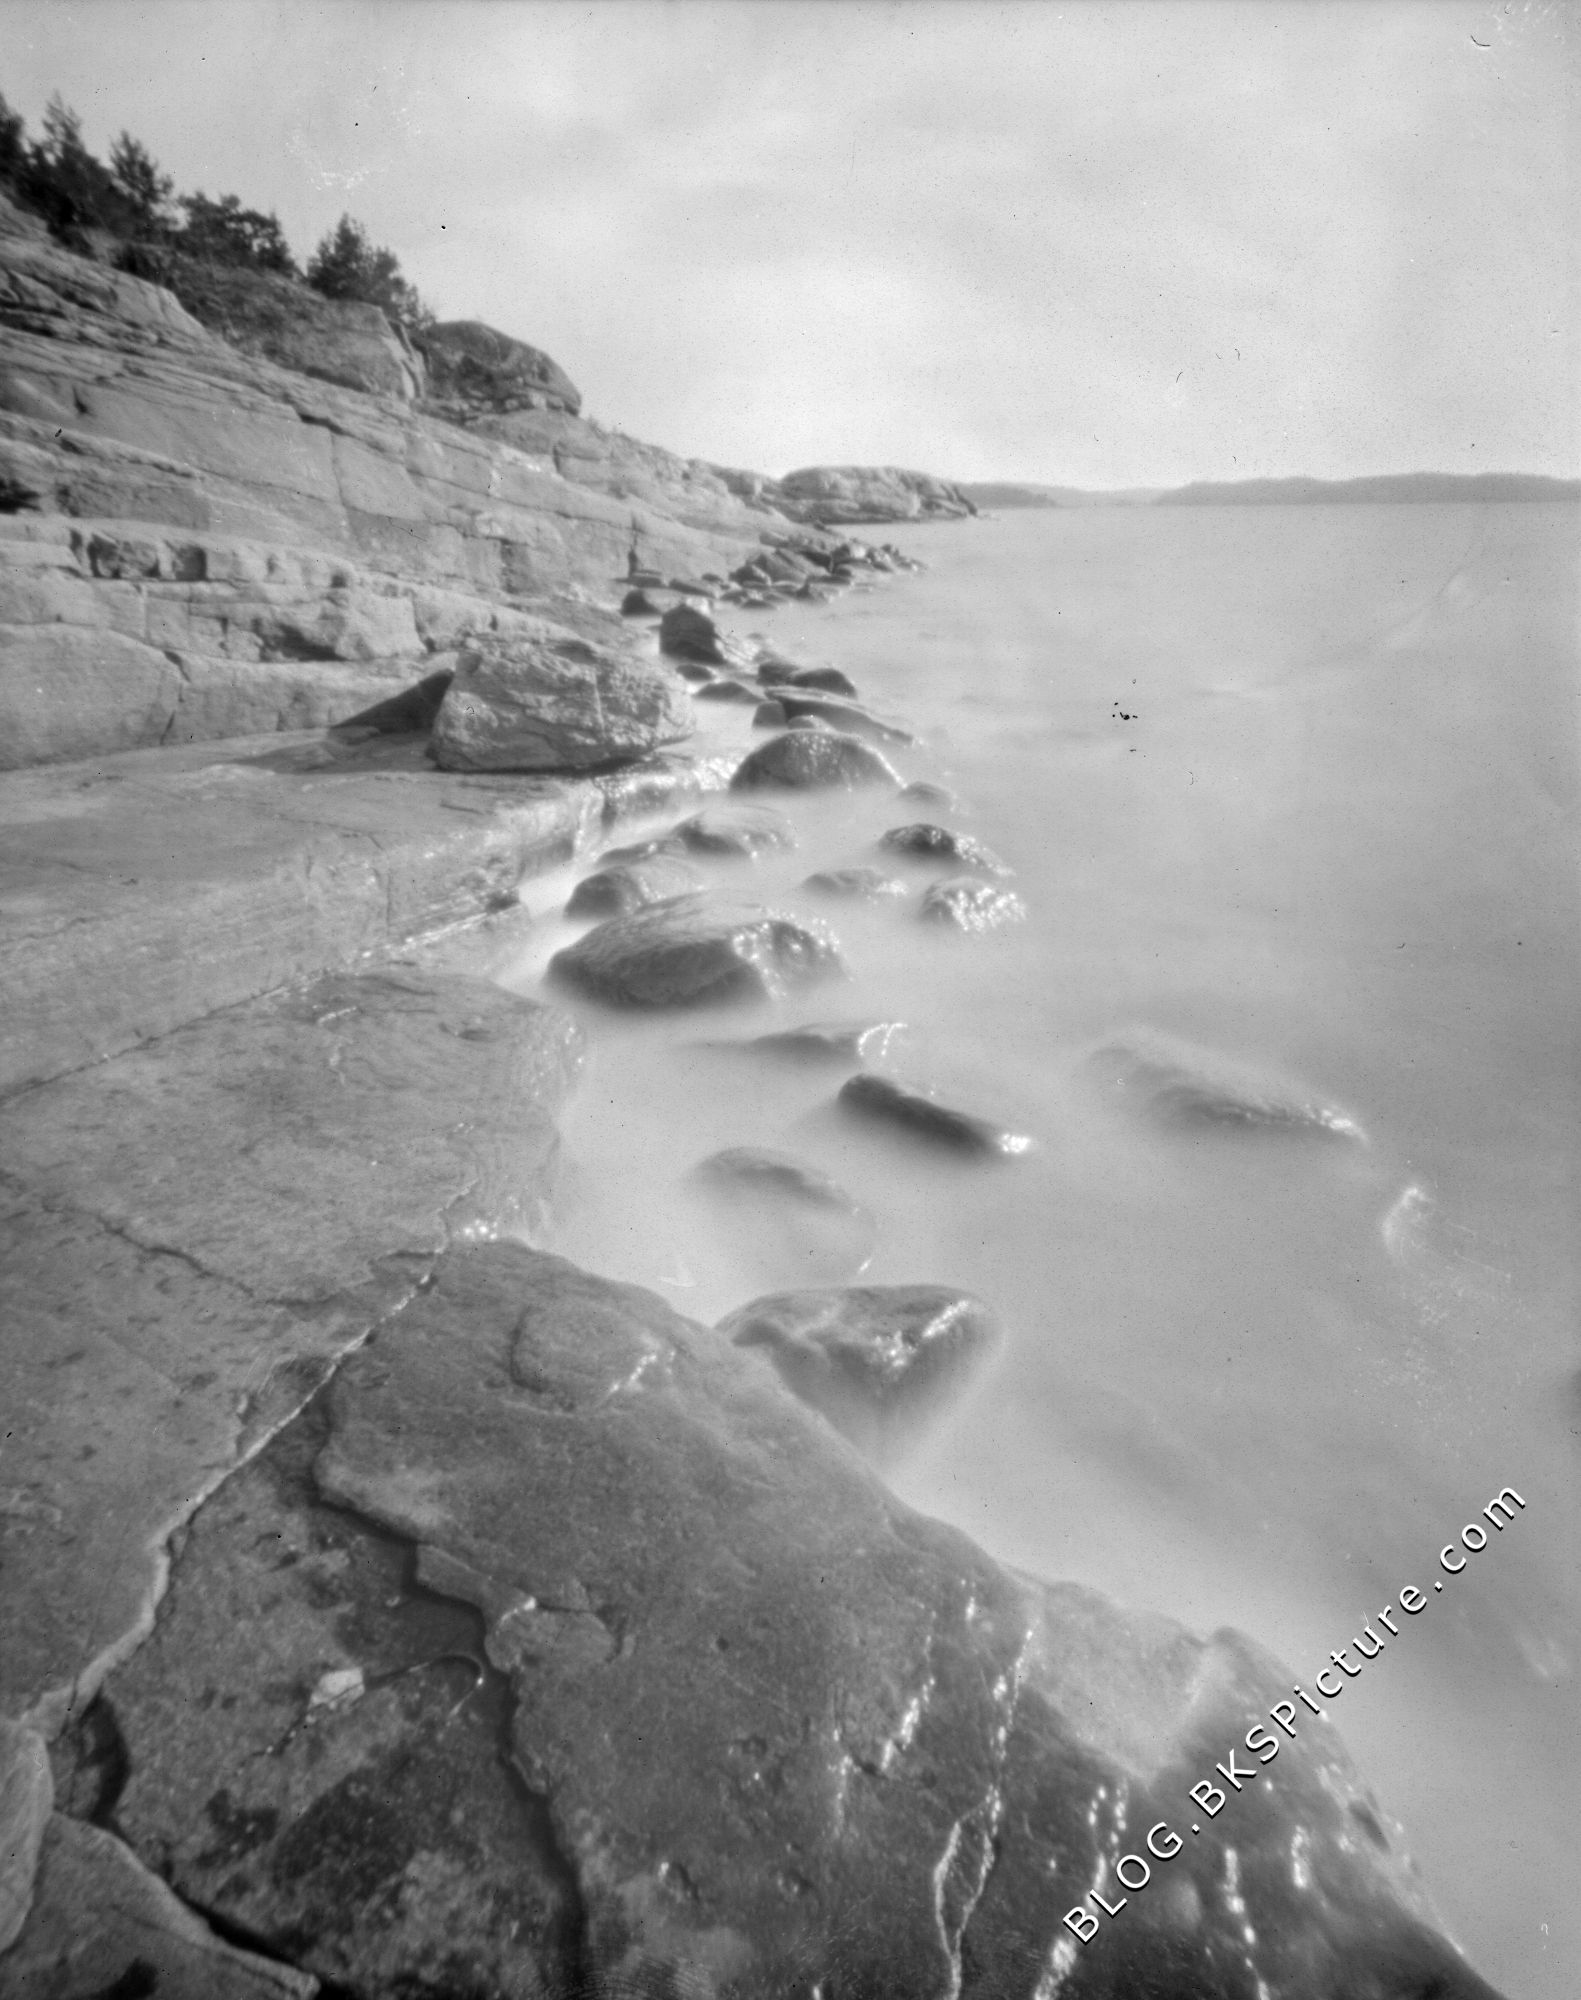
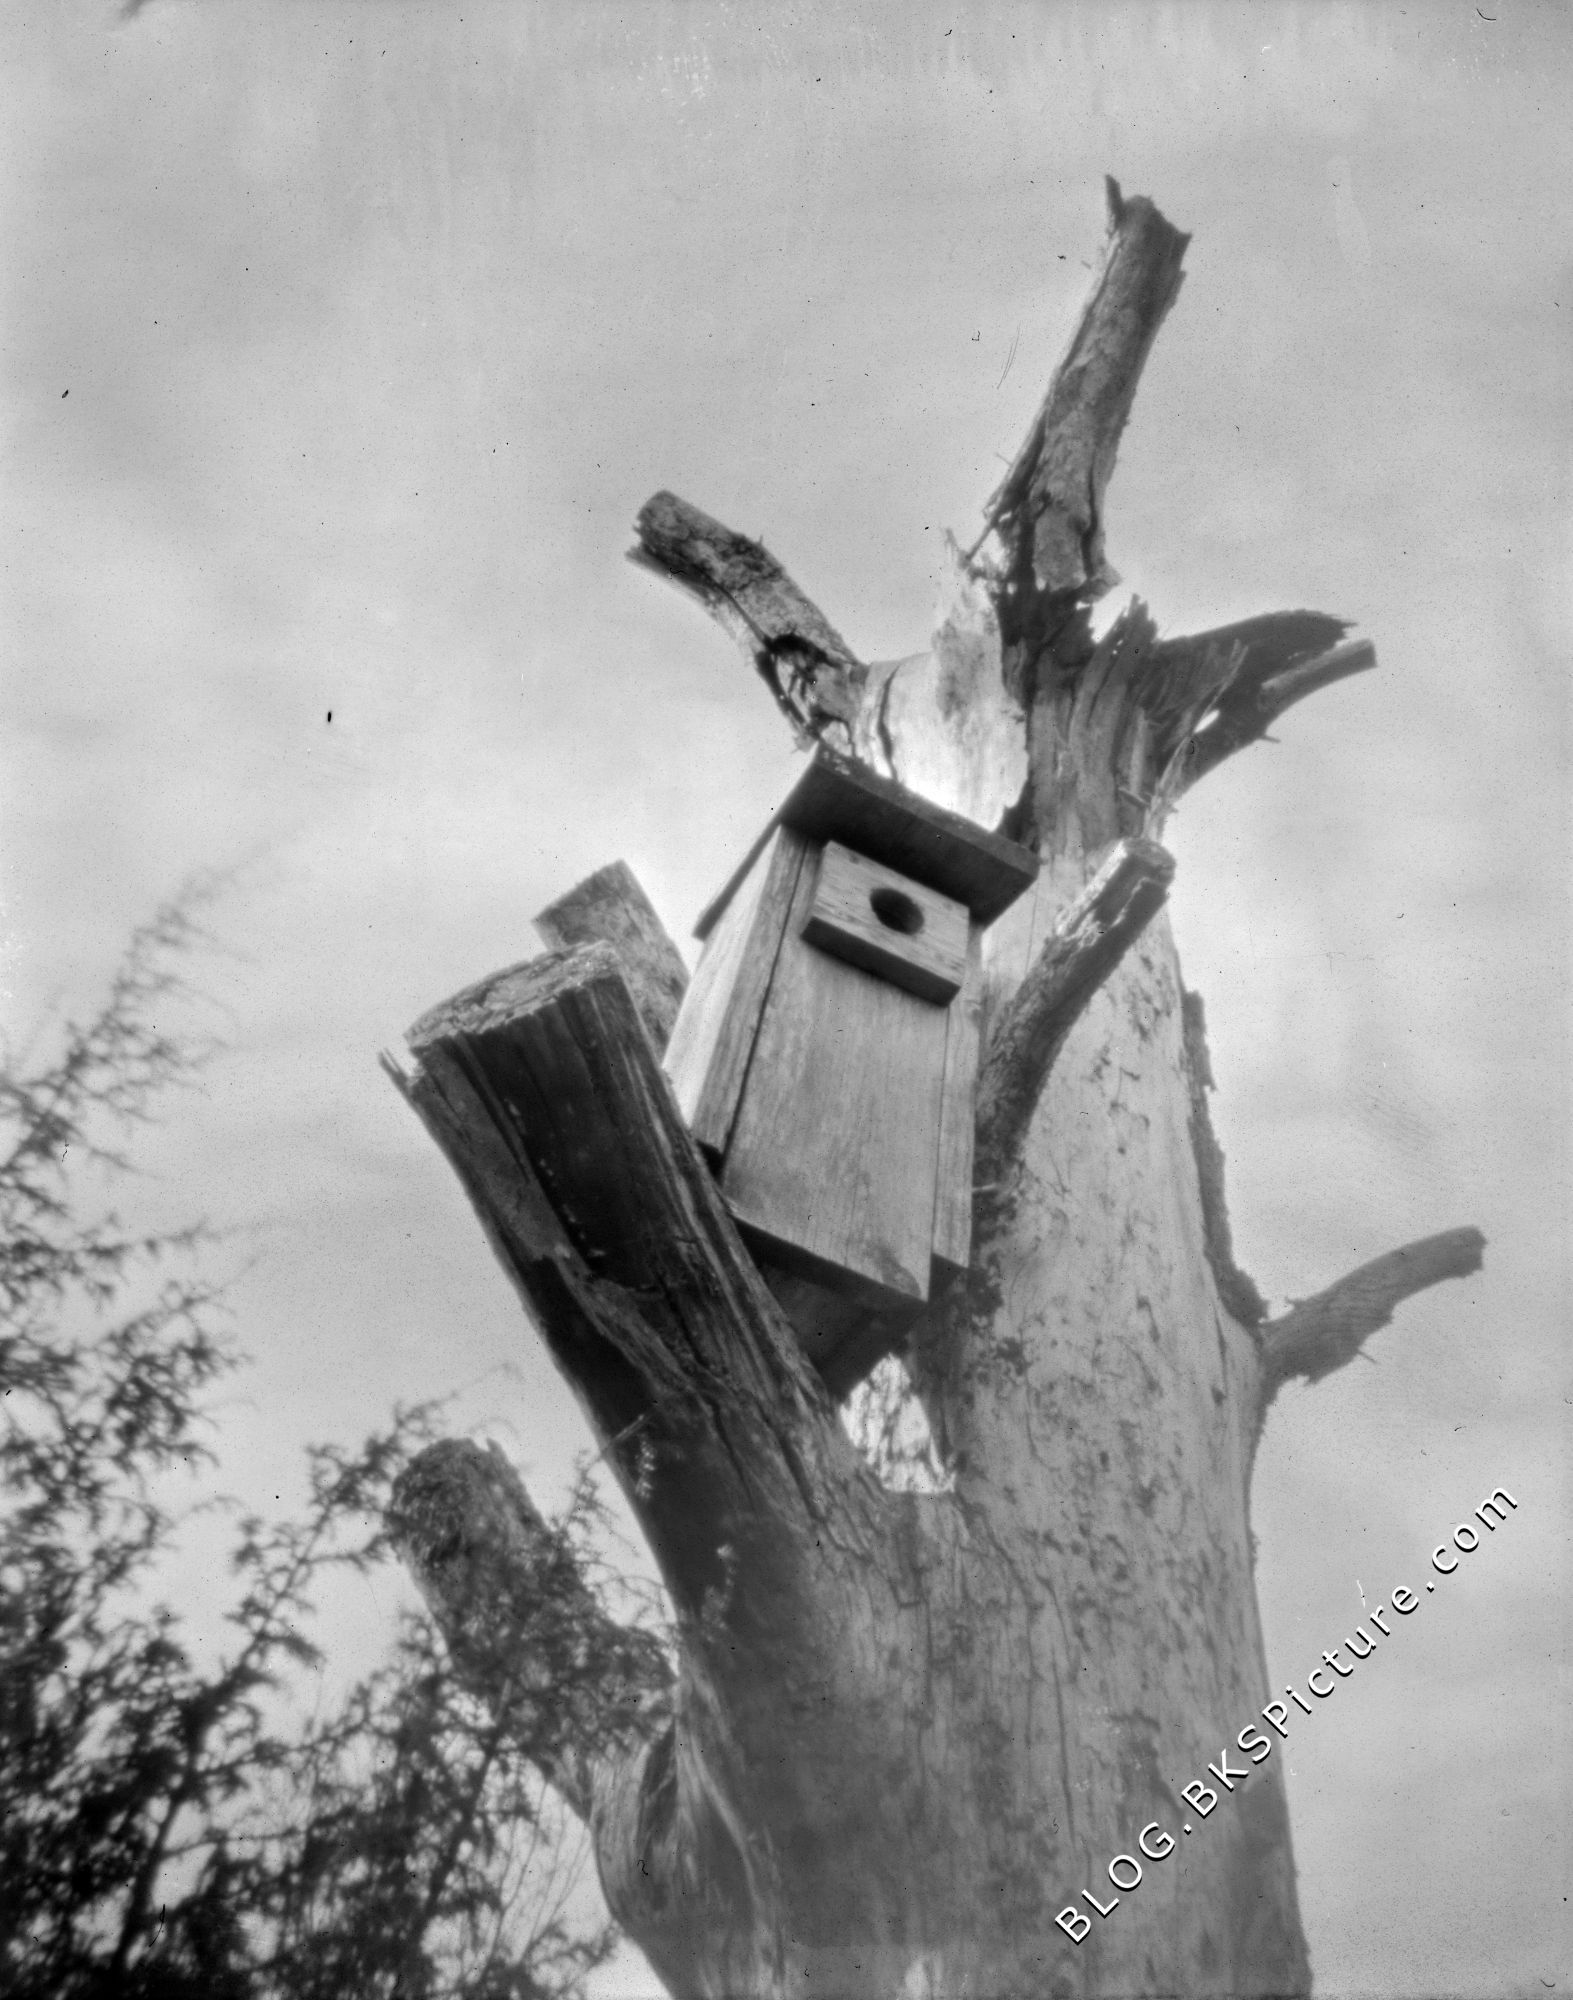
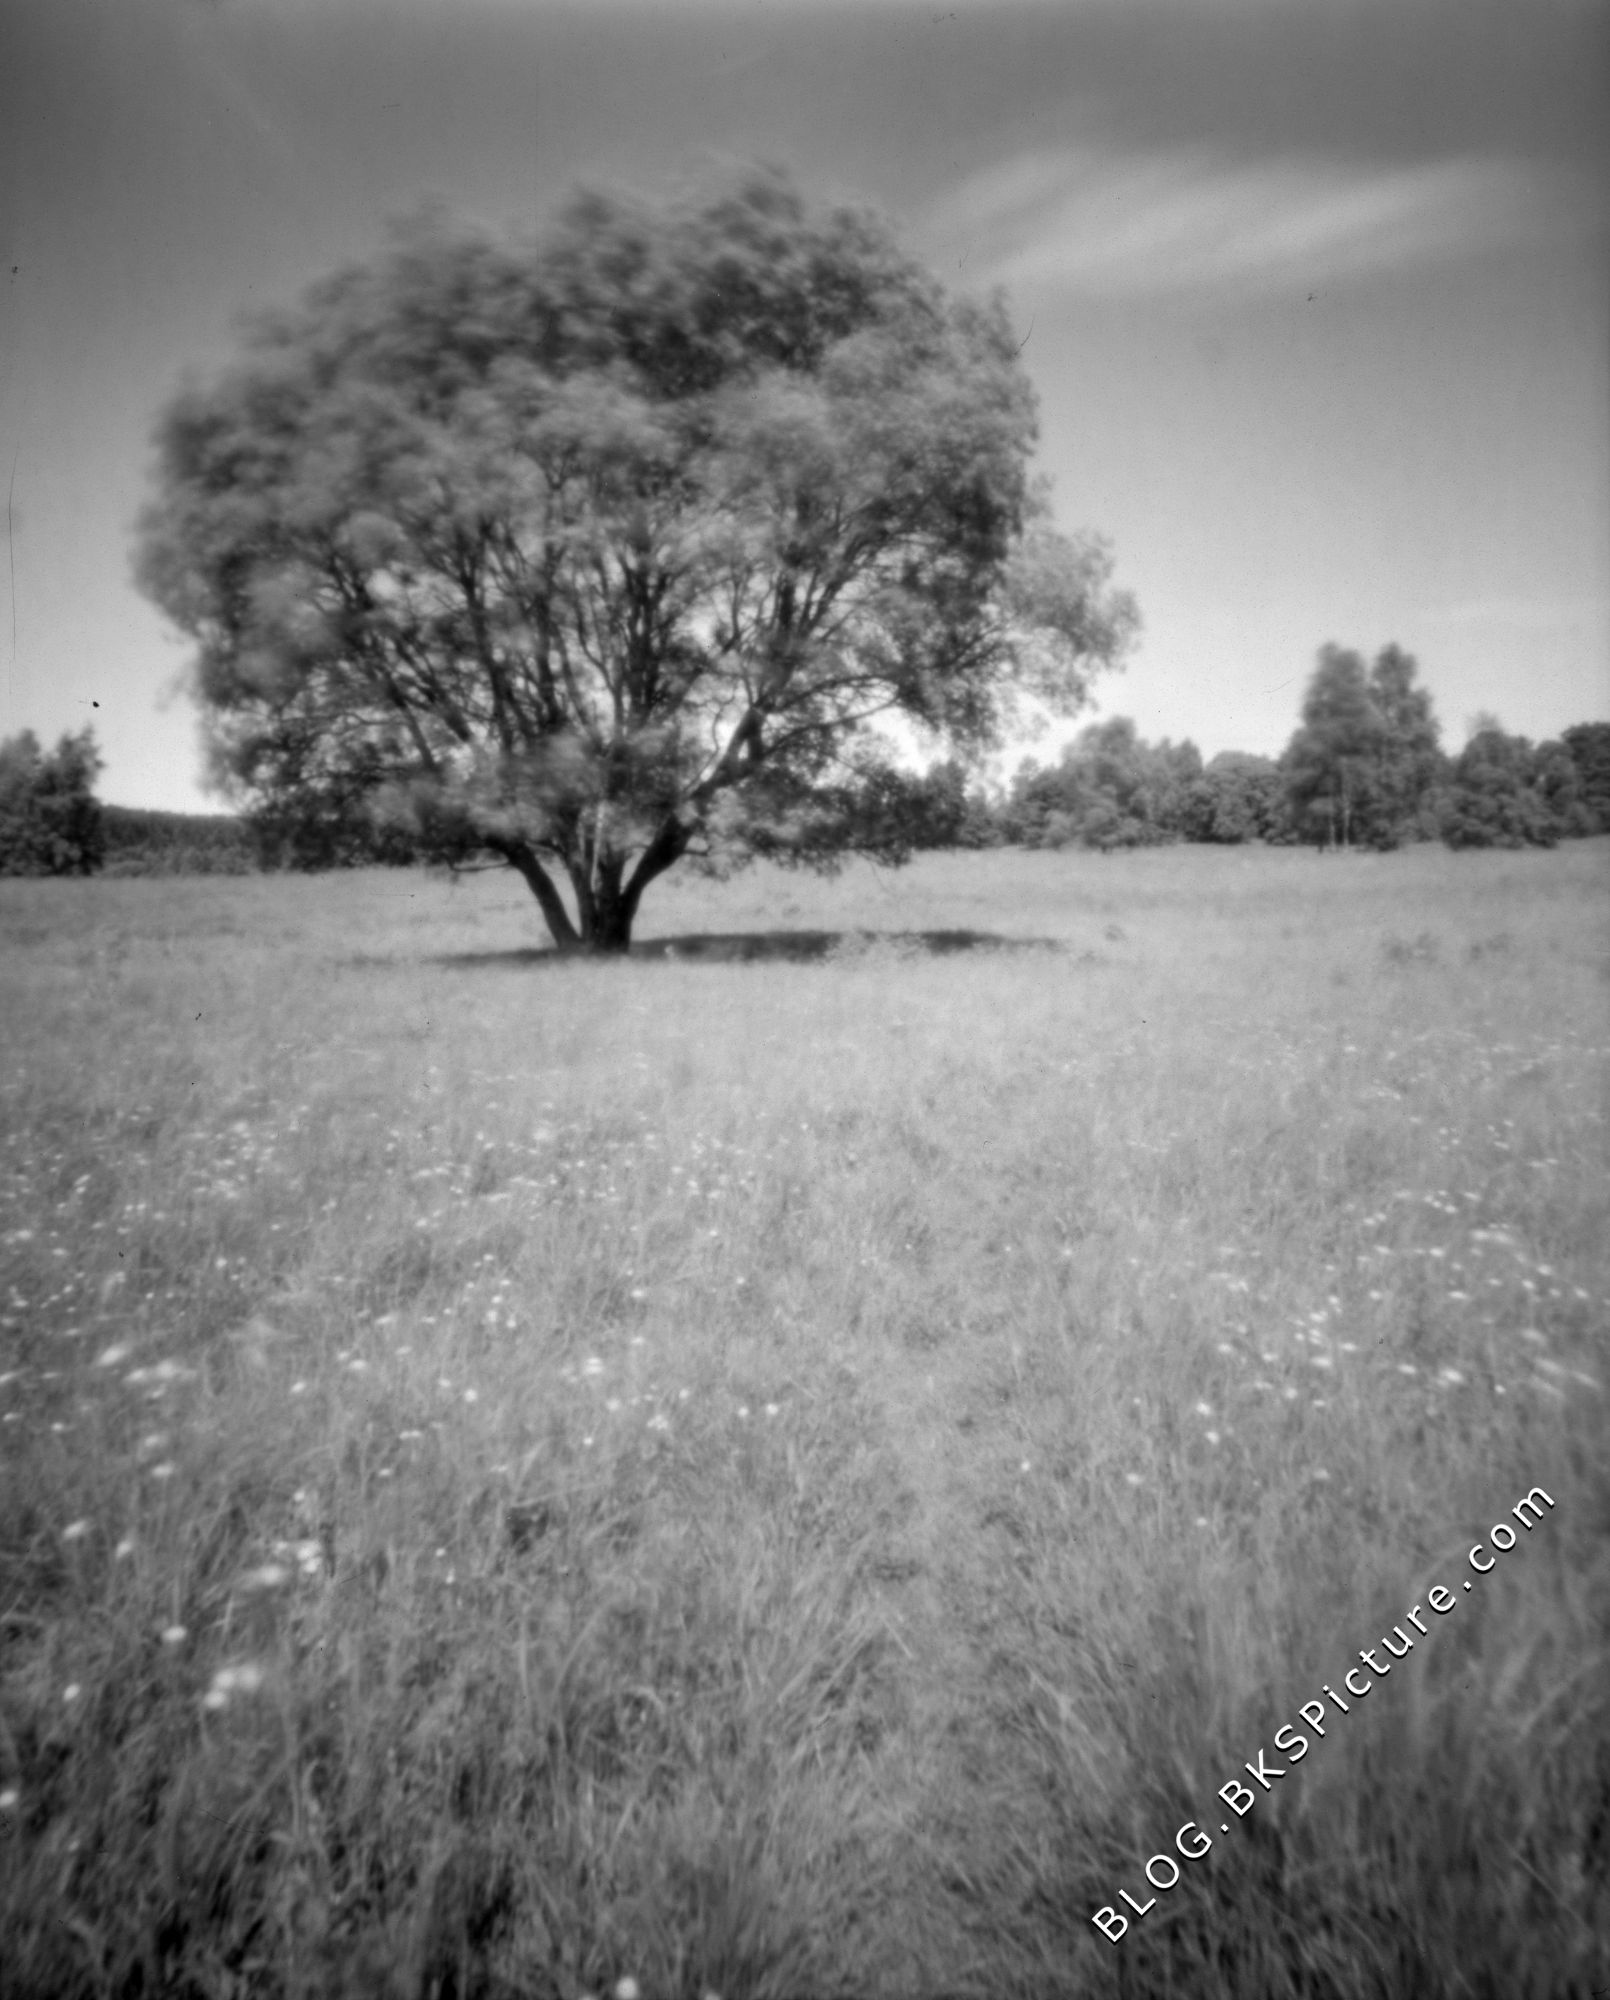
Also did some test shots @ ISO 3 and no filter (two stops under max). These are taken with a pinhole camera and I should have dilated the developer some more as the development was a bit too quick and I got some uneven developing. The cloud like looking effect are from this uneven developing, real clouds are washed out.
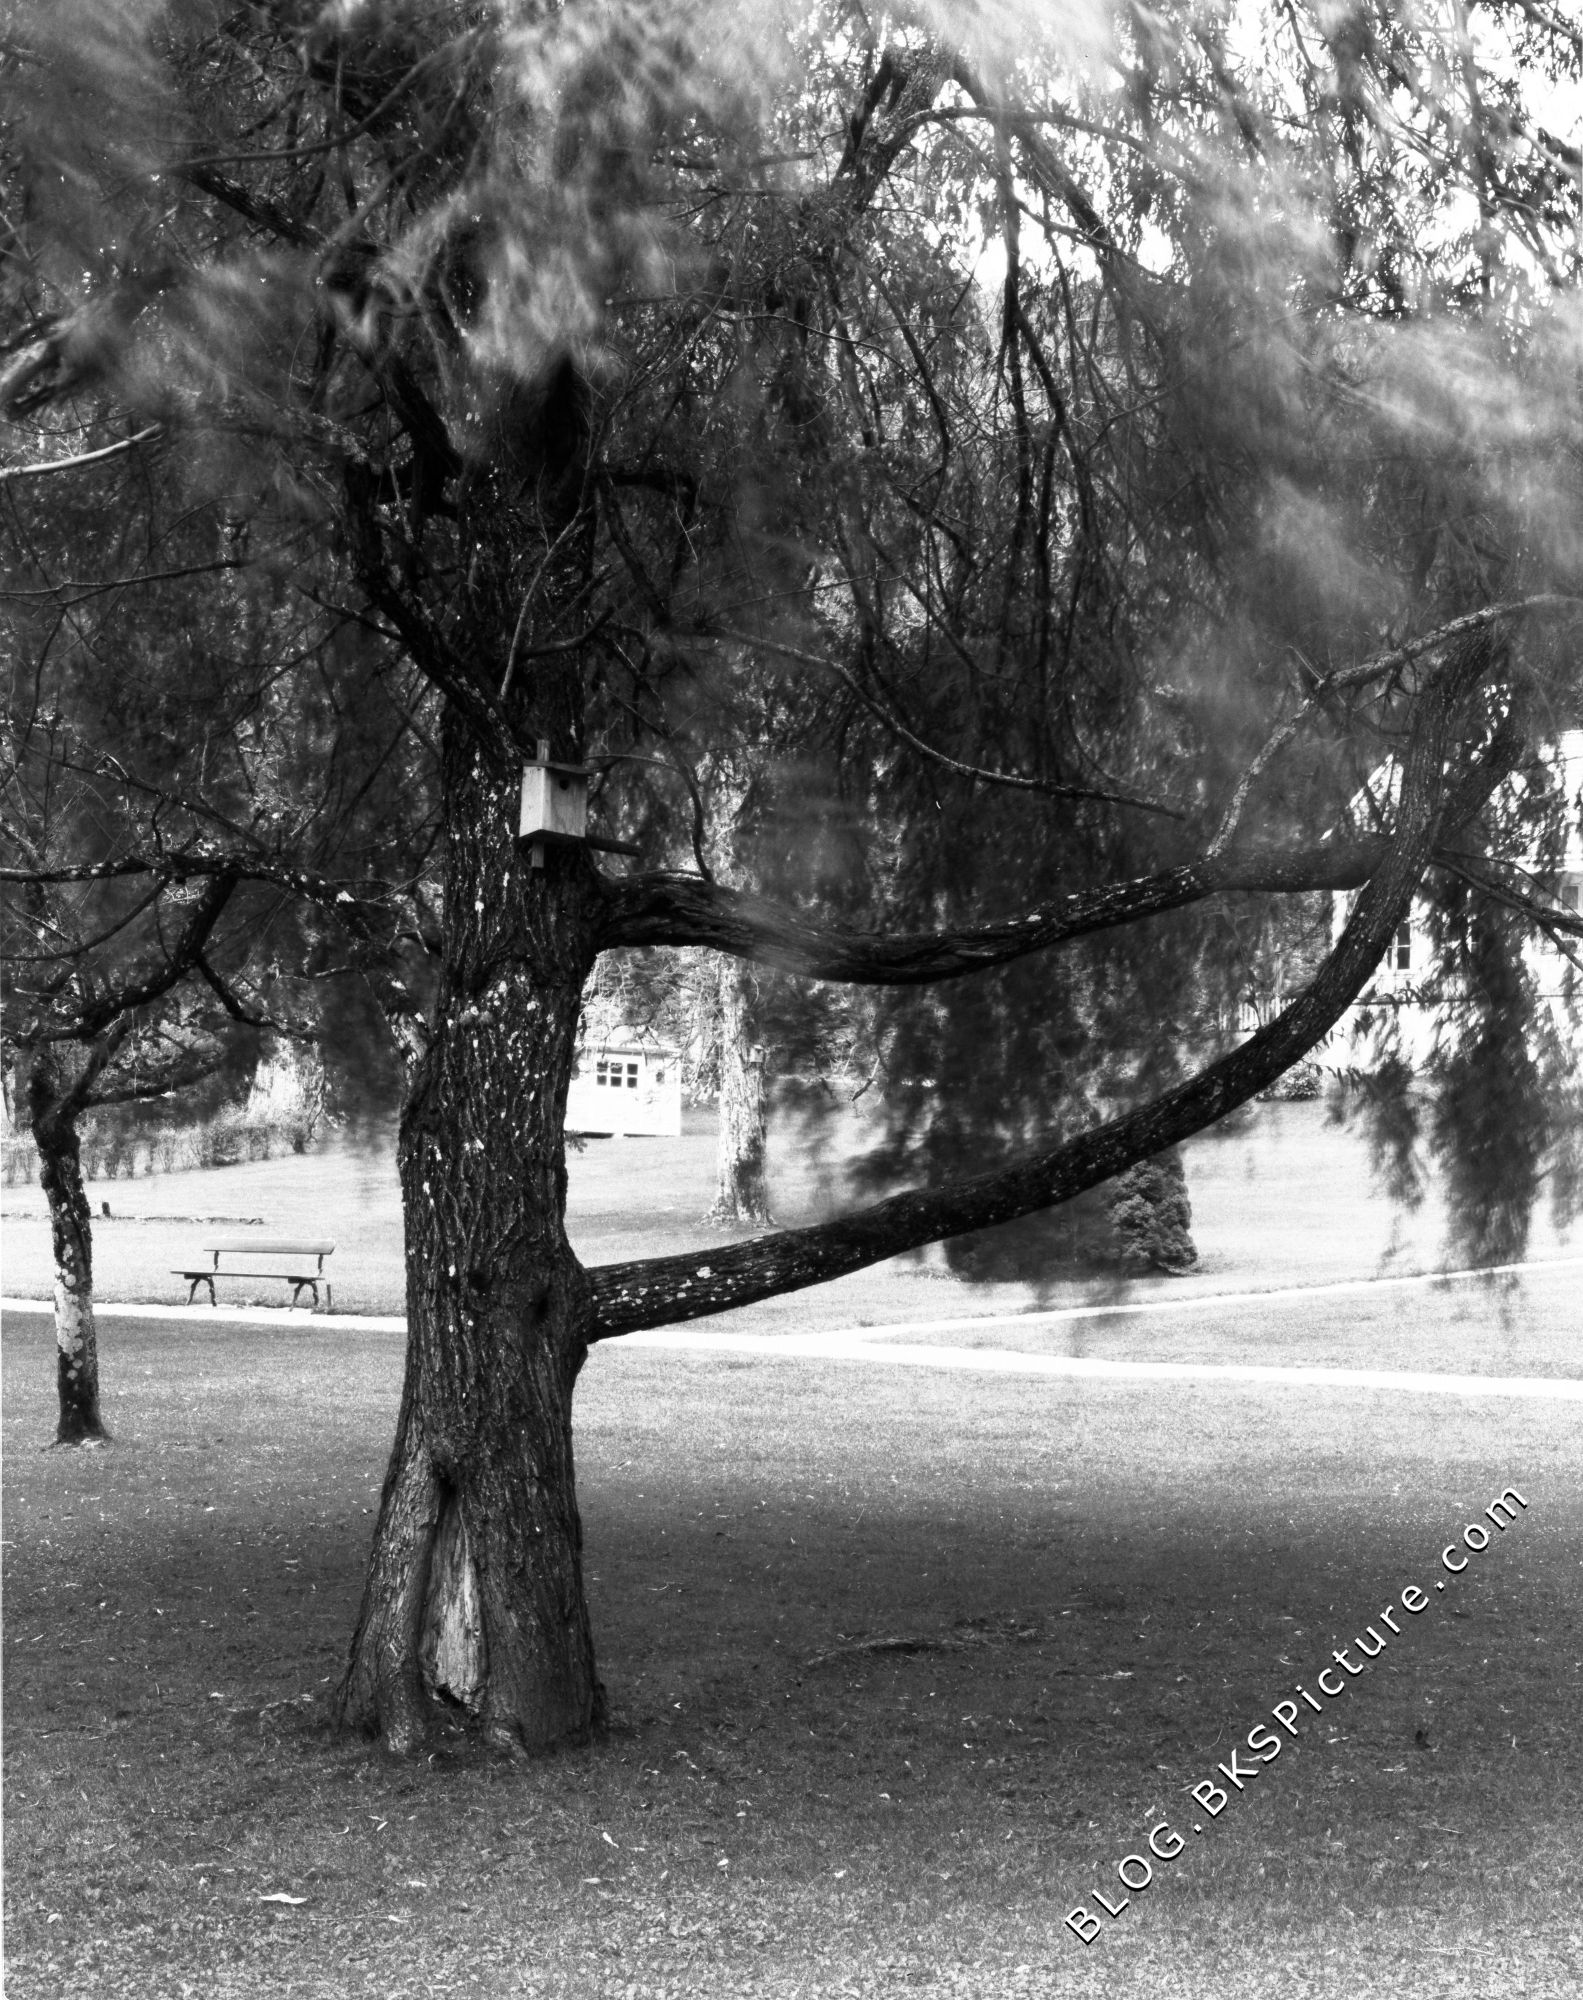
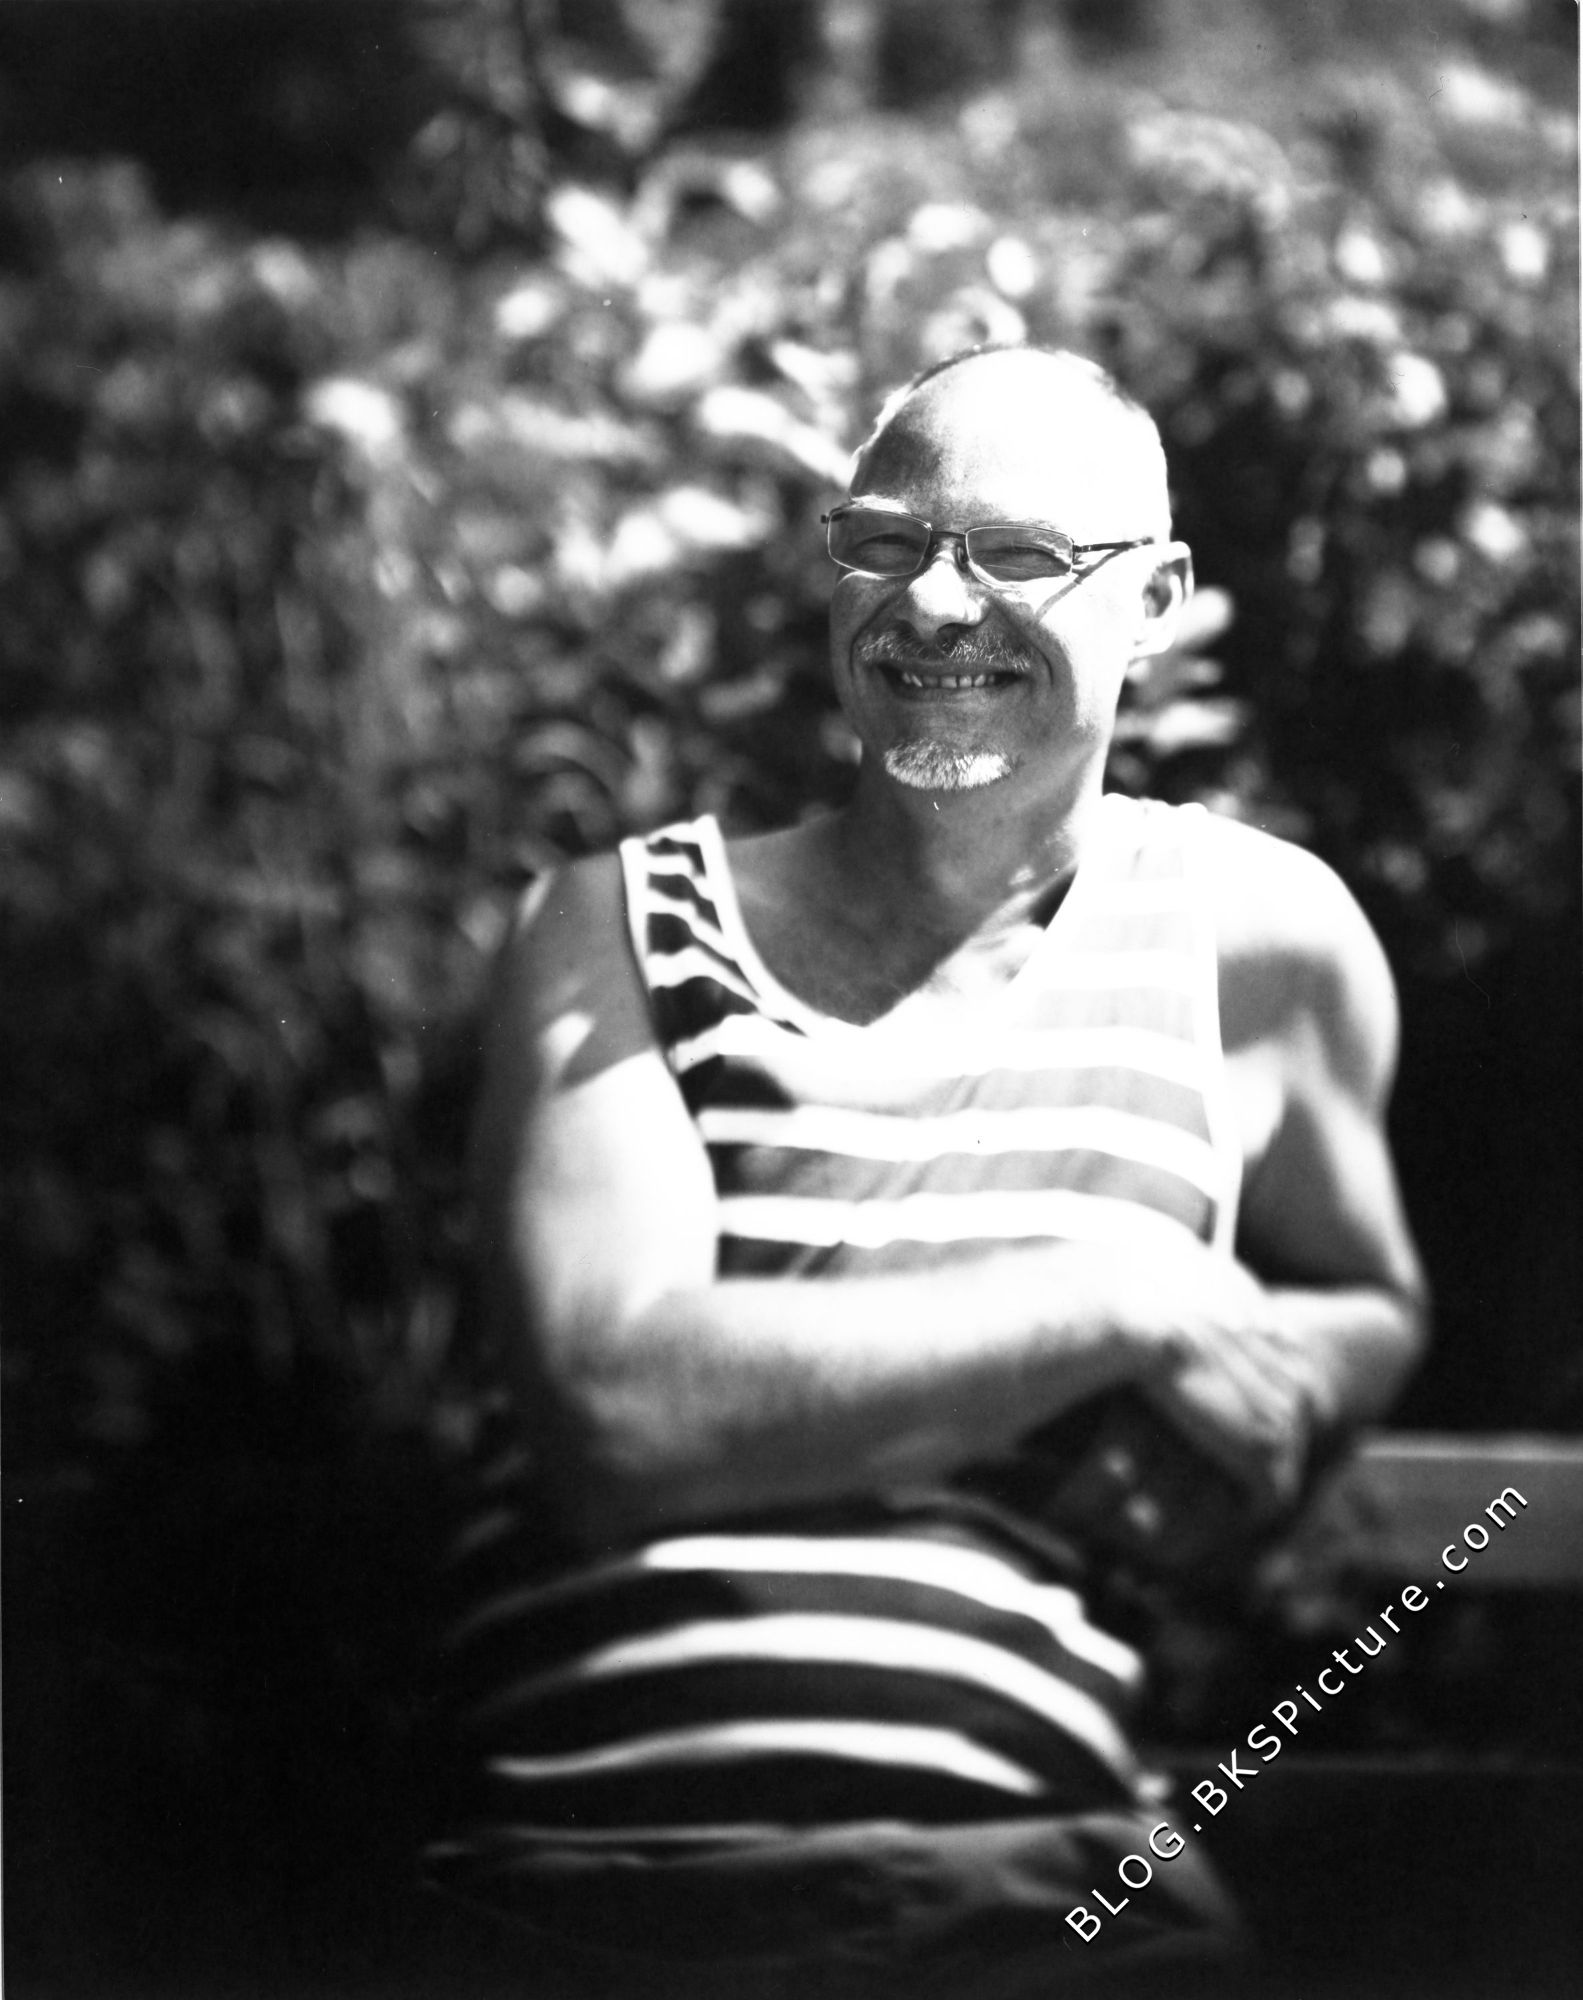
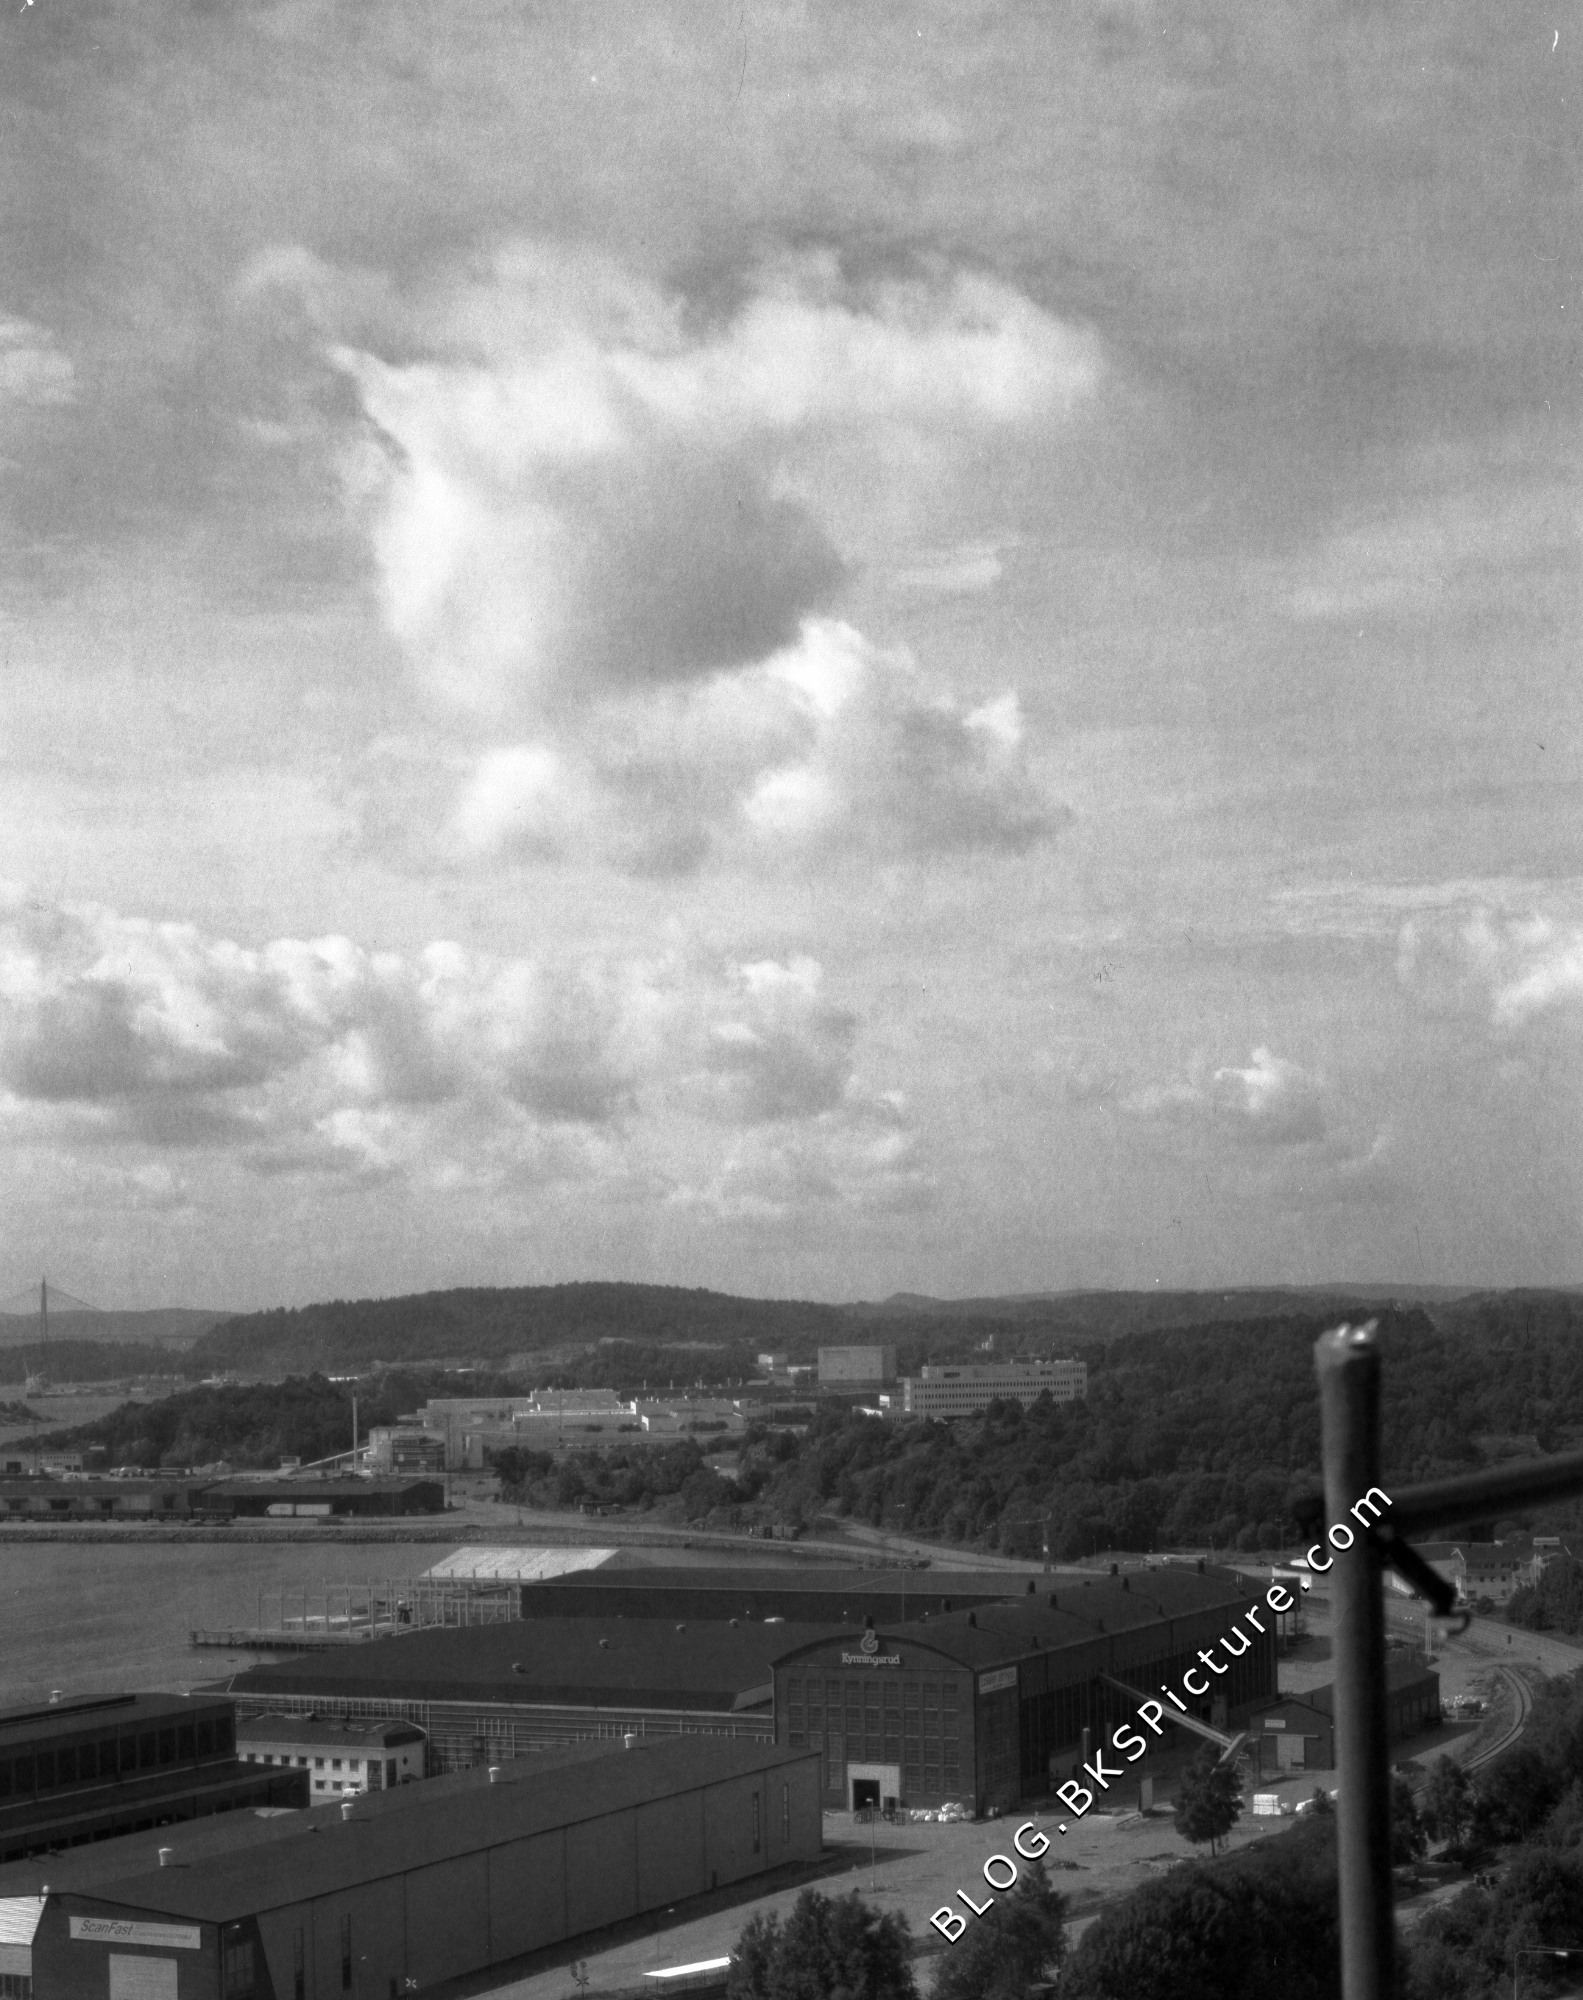
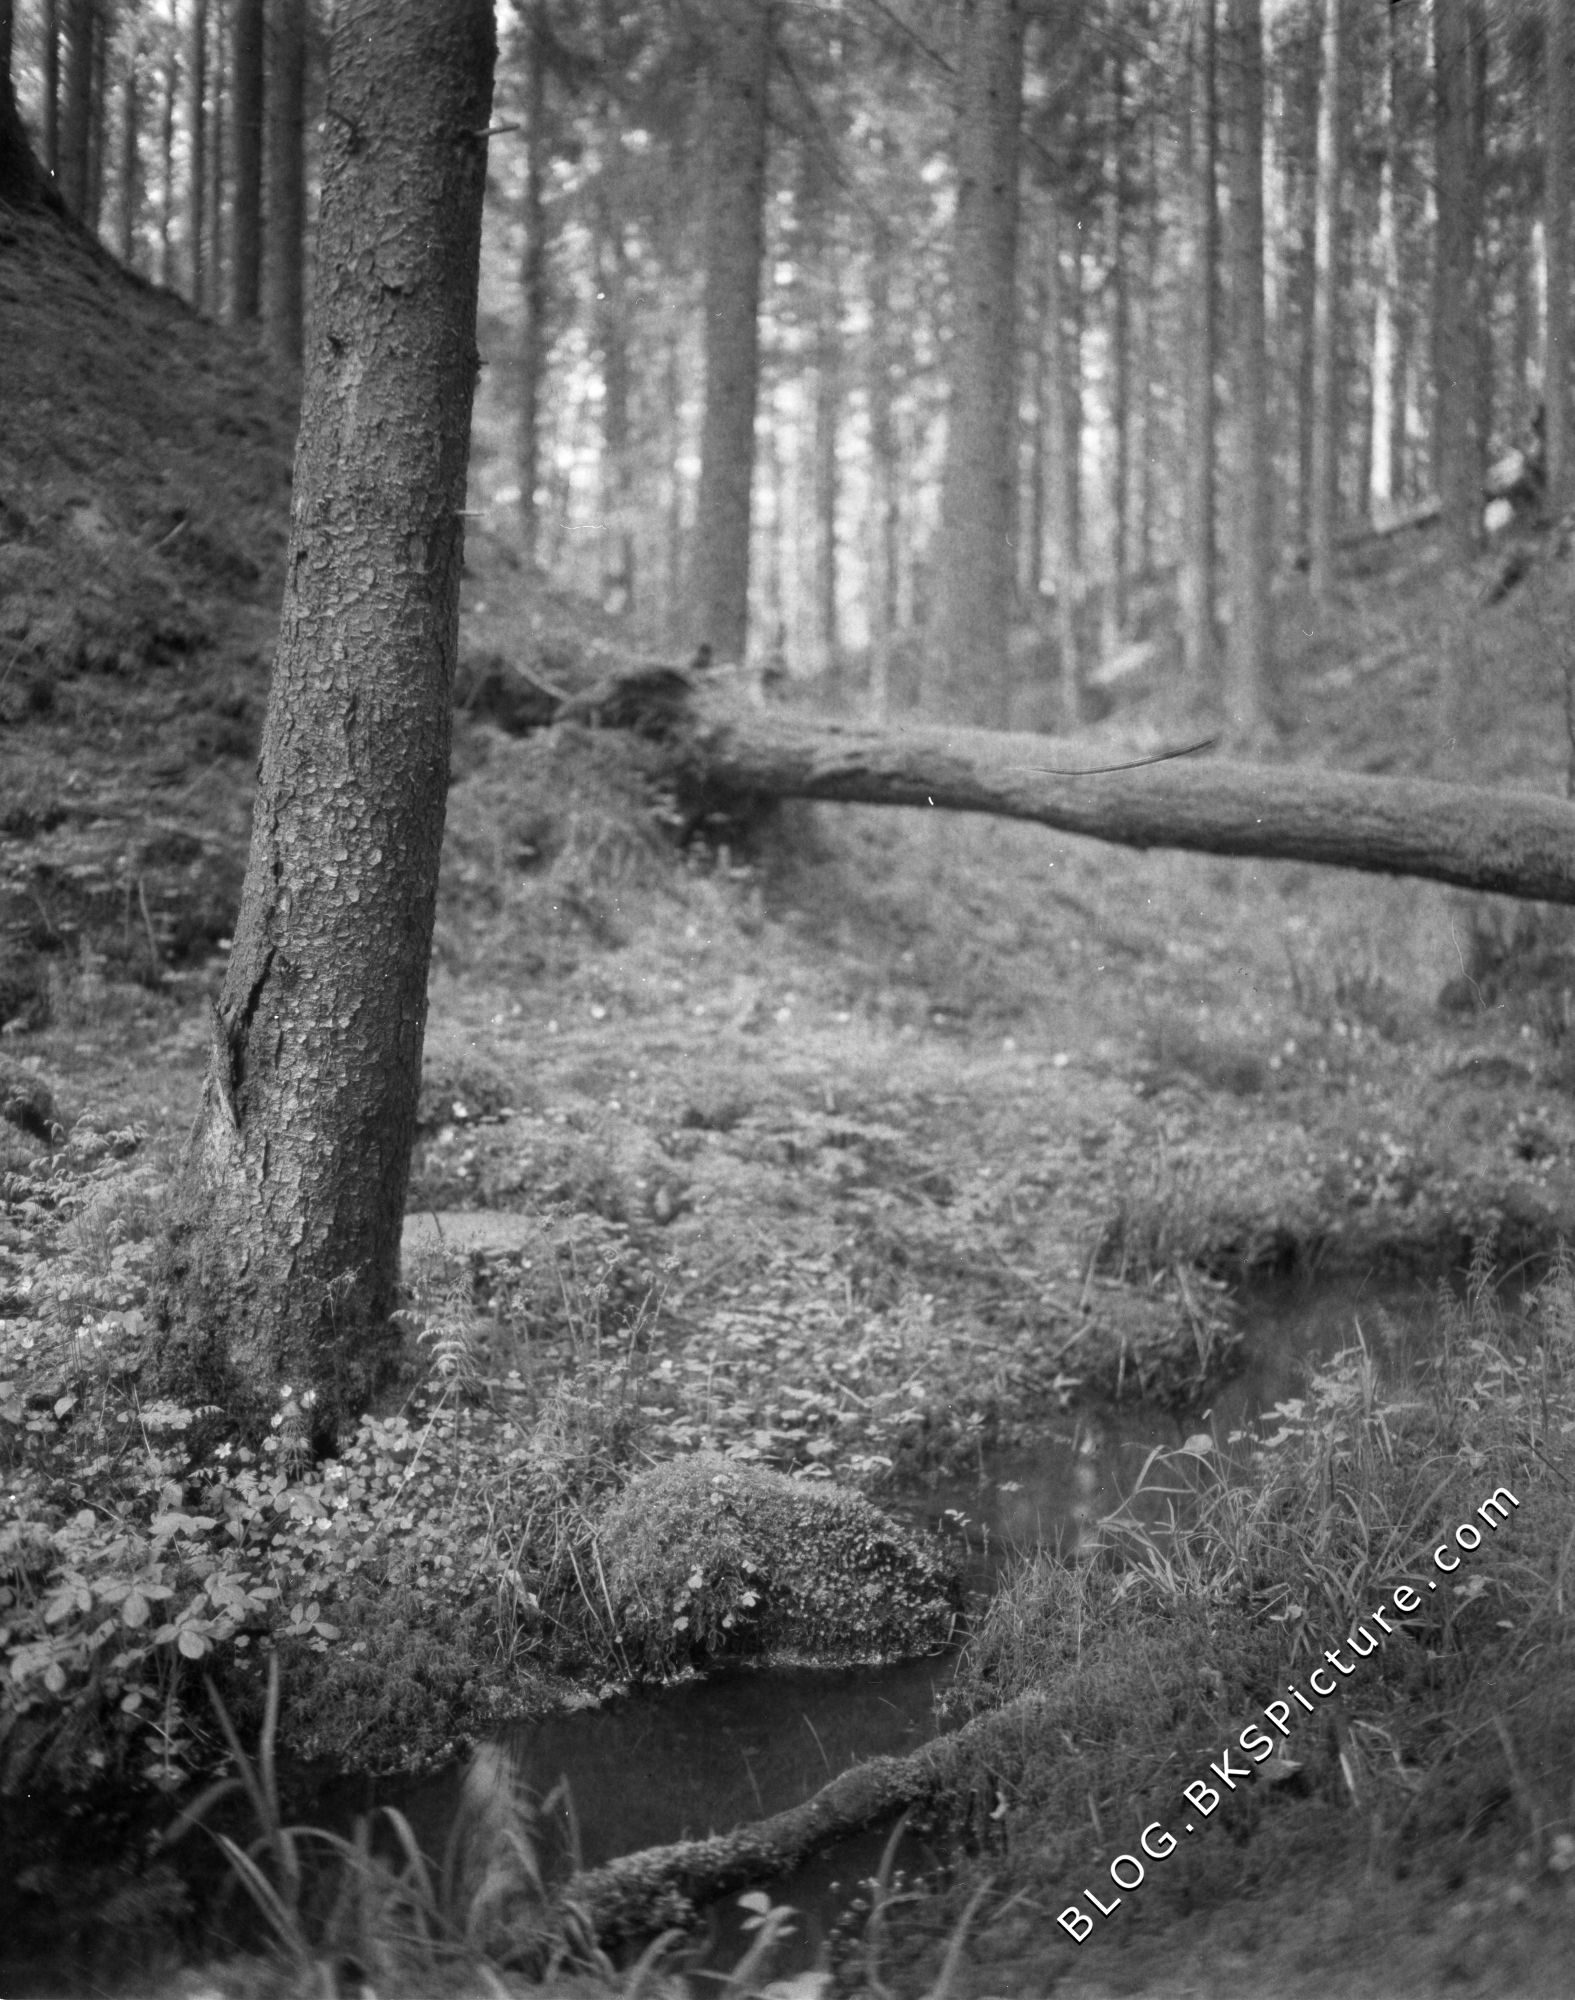
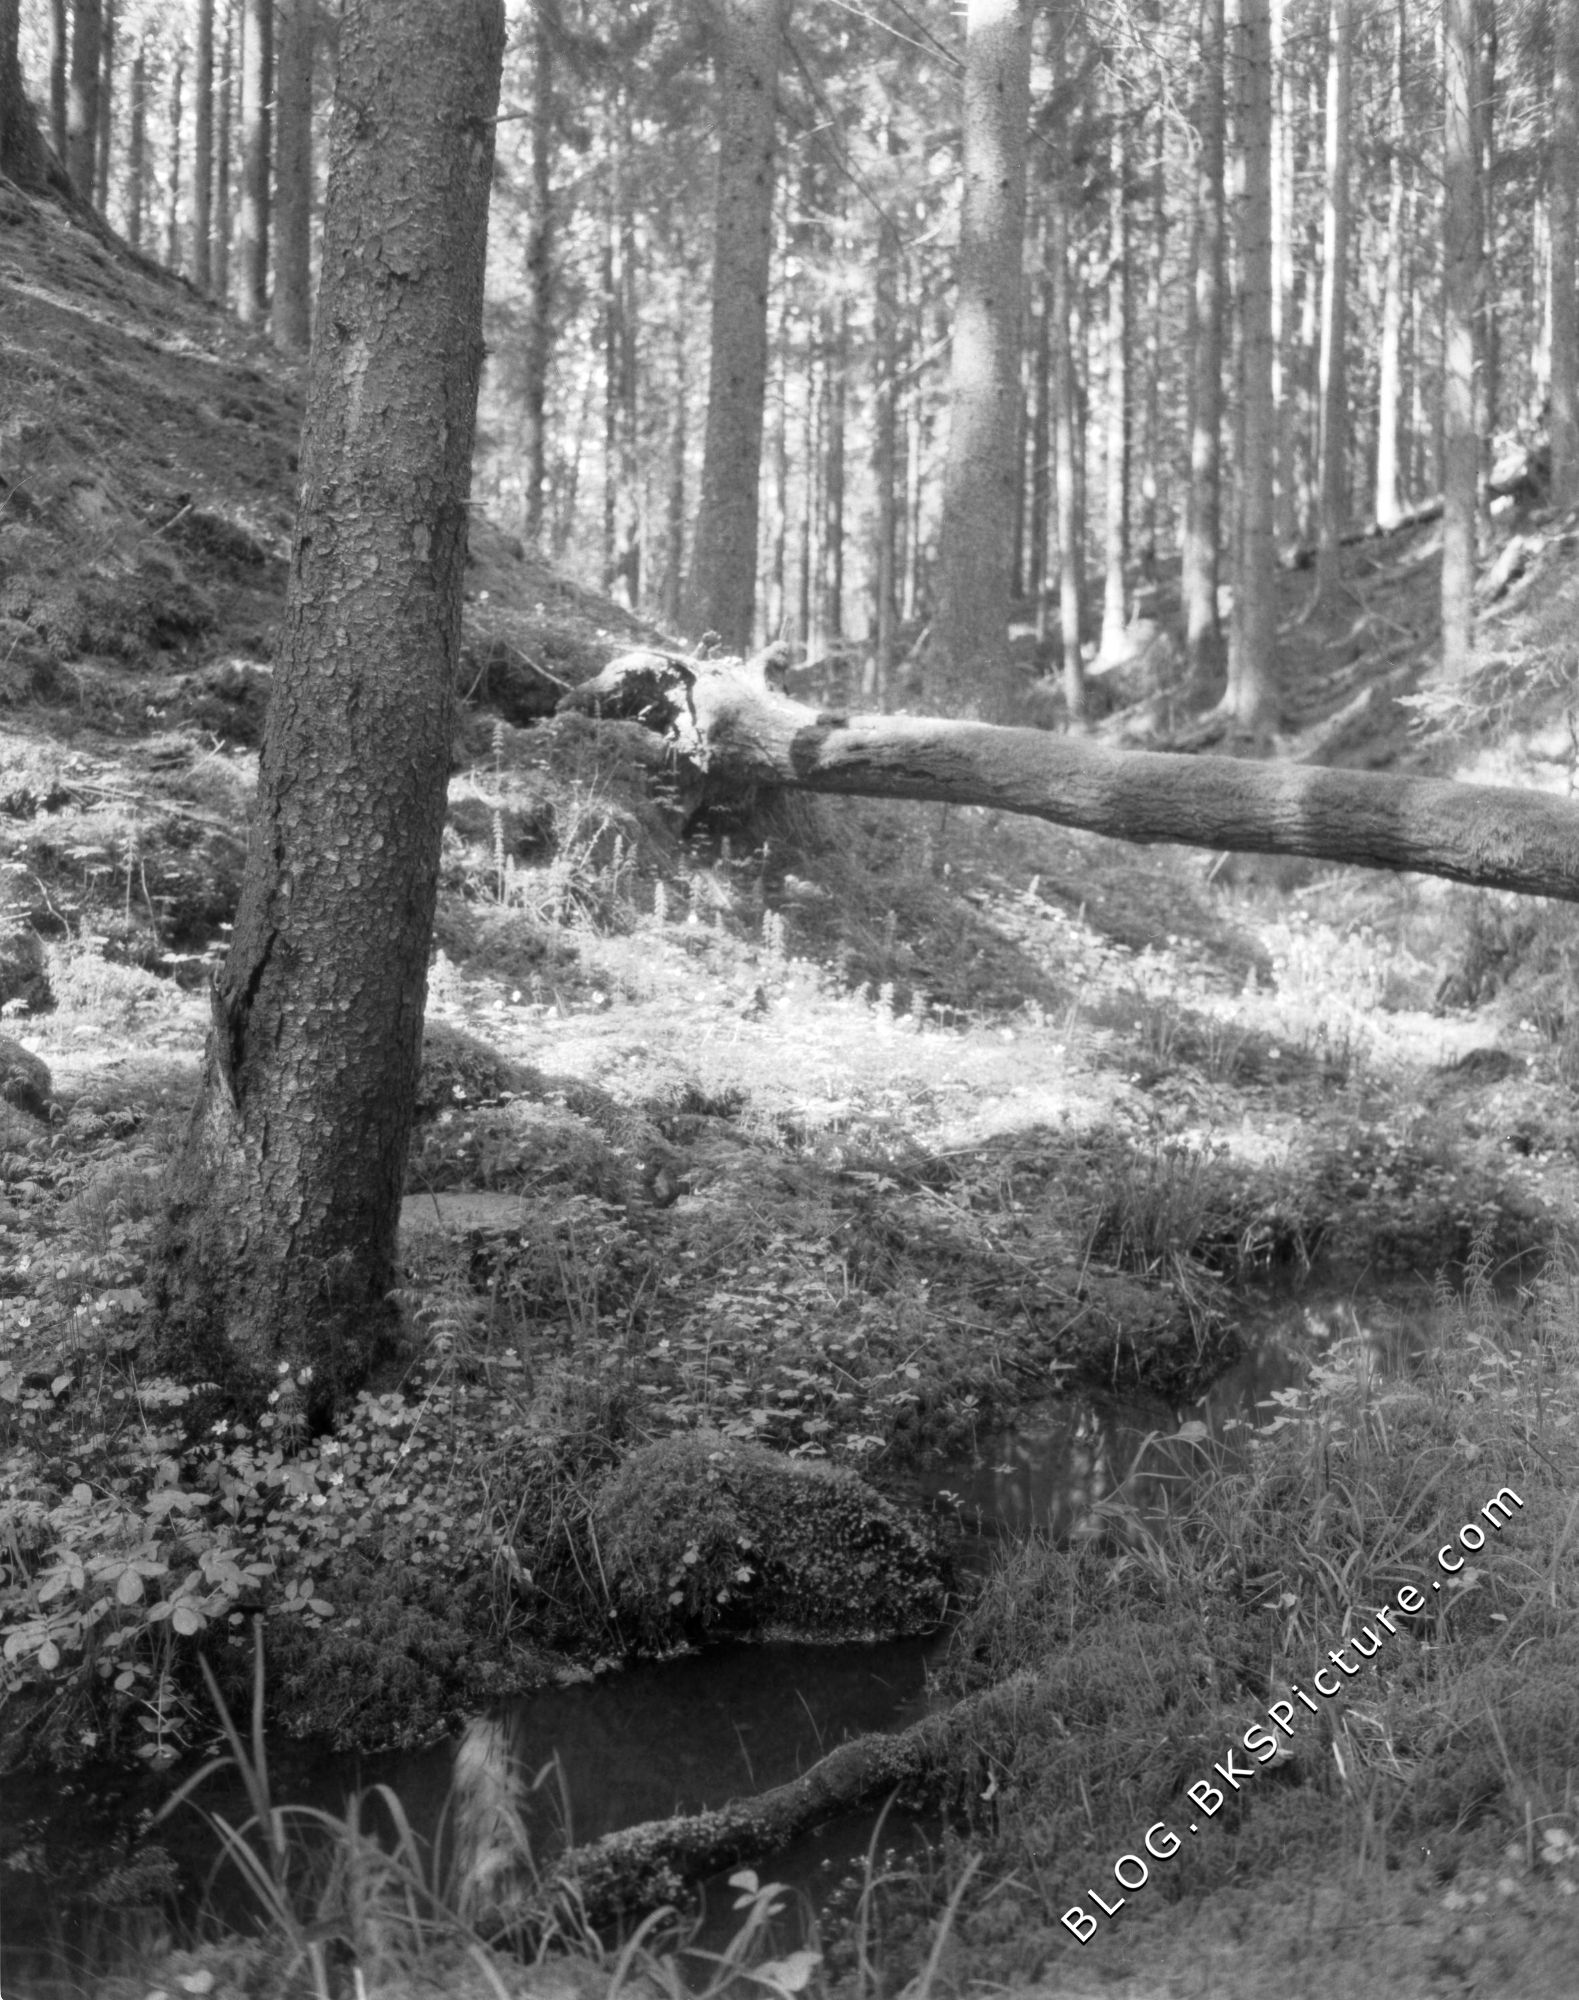
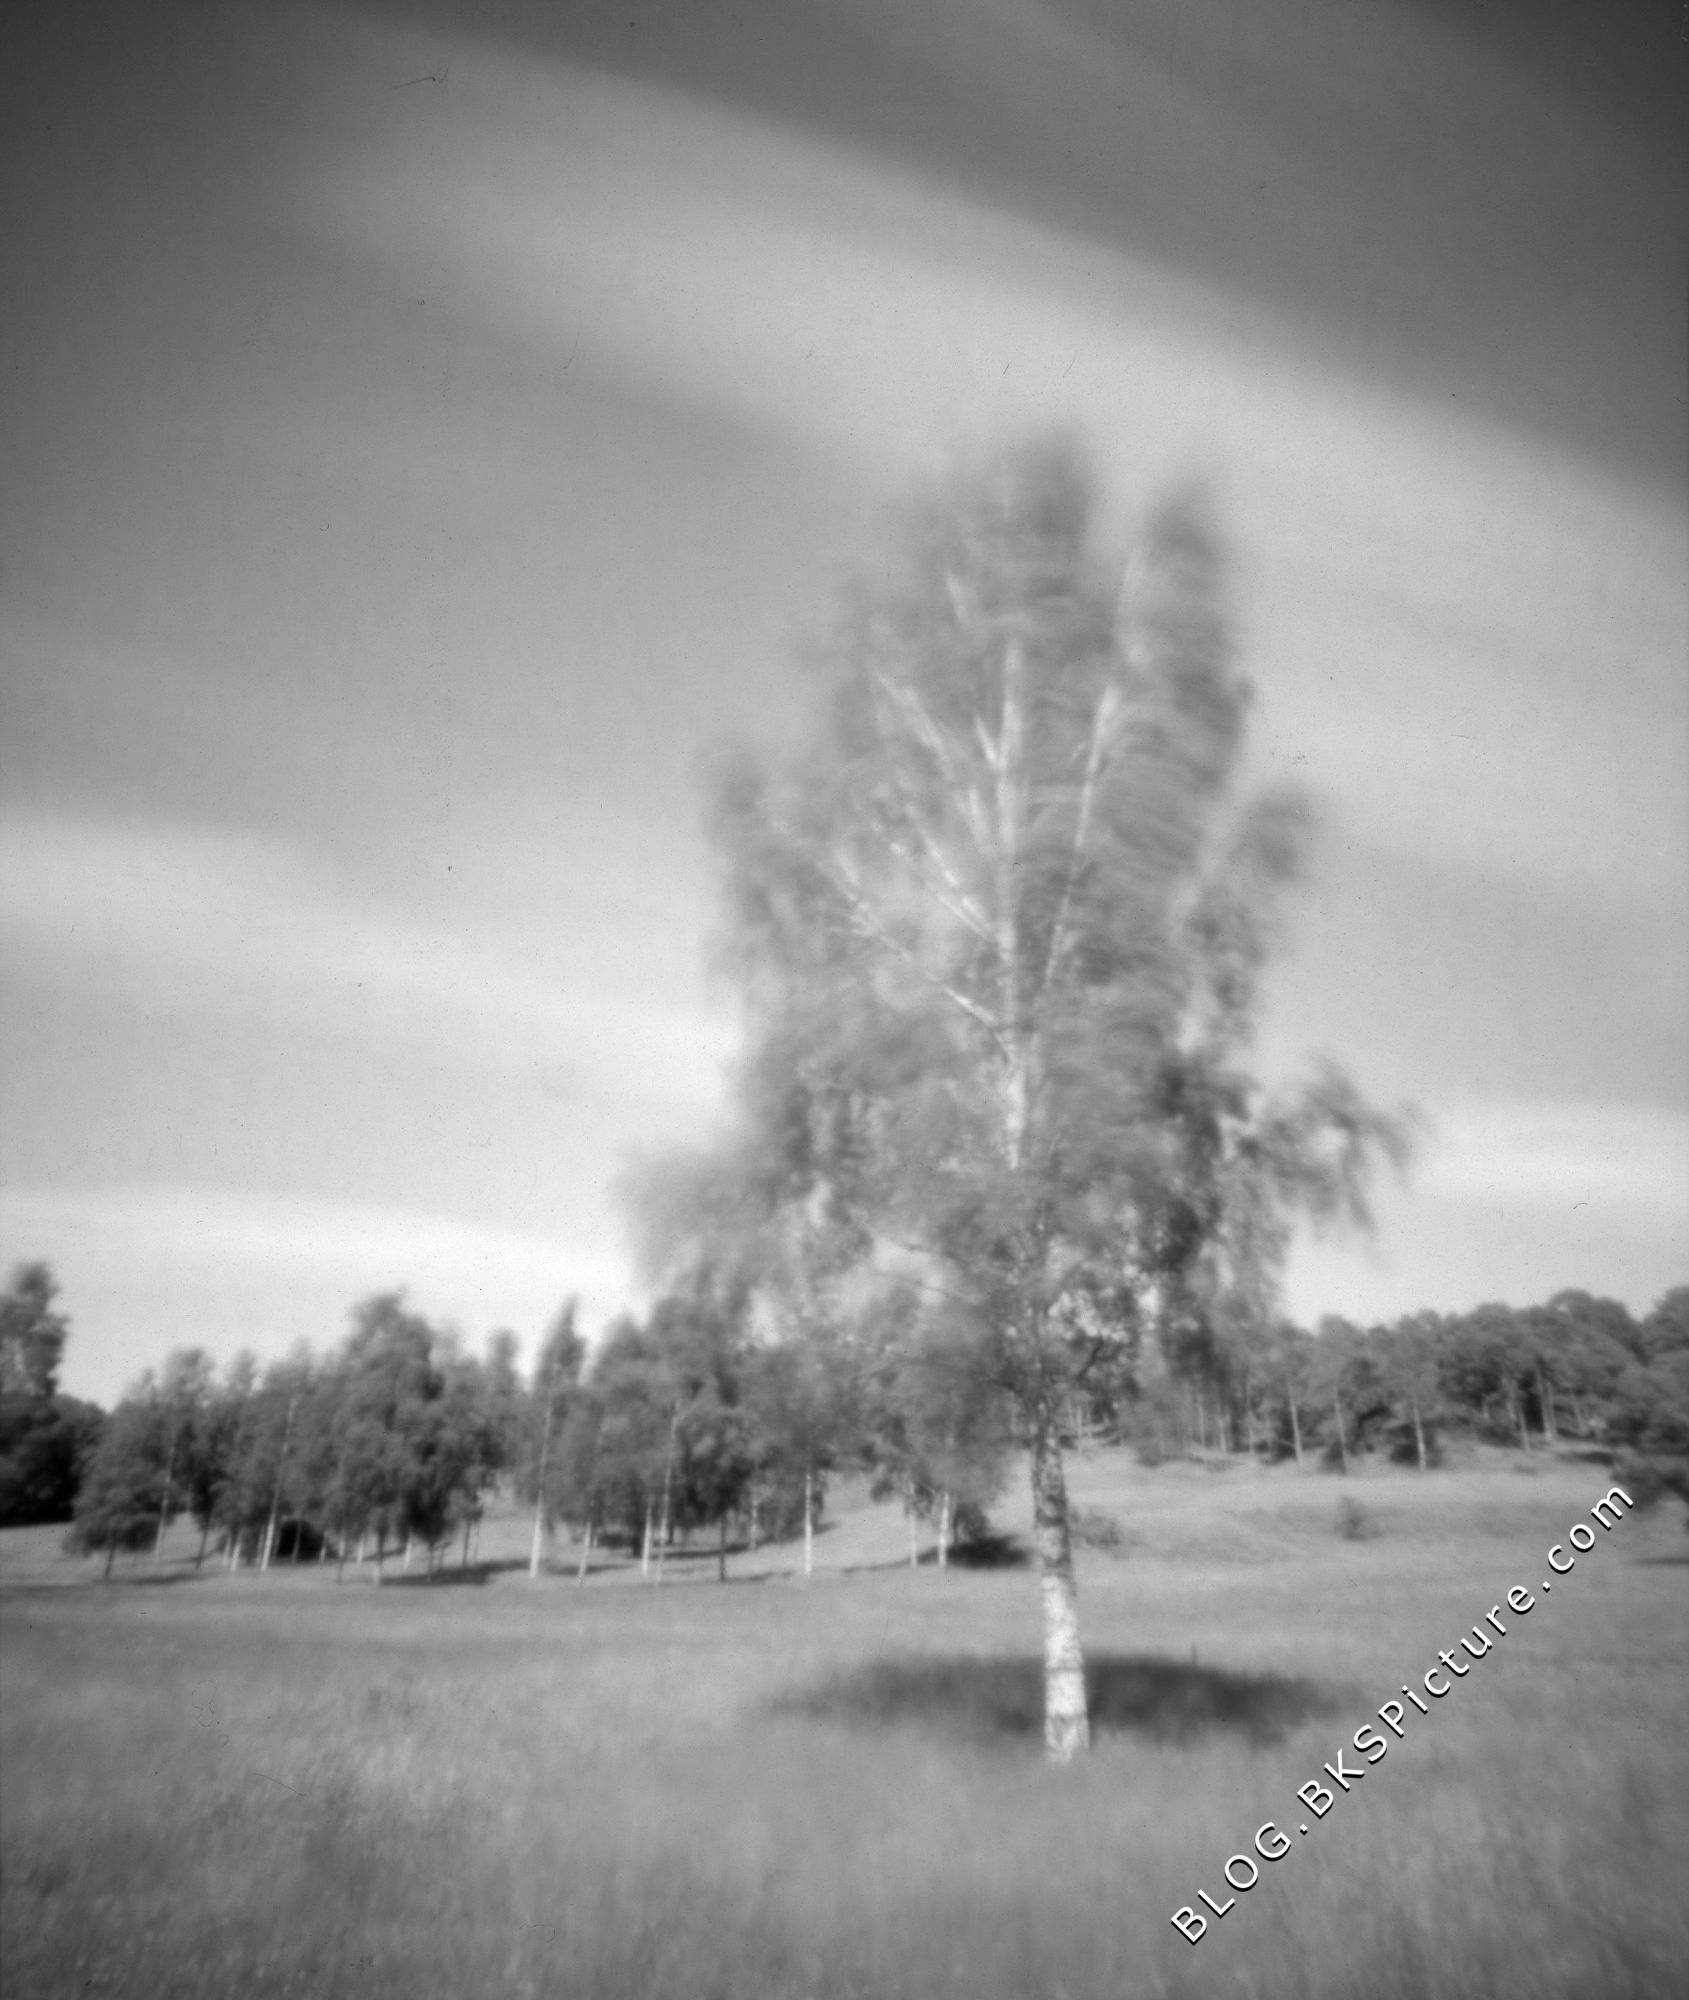
This is what have given my best results. @ ISO 3 with a yellow filter. The filter takes away one stop of light sensitivity so the exposure is one stop under max ISO.
Developing the negative: Paper developers are made to give very quick developing under standard usage. This is great if you want to press the ISO to the max. However not so great if you want a lower ISO. The image will be overexposed very fast, you can quickly throw it in the stop bath but this will result in uneven developing. So slower developing is needed and you get this by diluting the developer with more water. I use Kodak Dektol which normally use 1 part developer to 1 part water. Instead use 1 part developer to 9 part water for my Foma paper exposed with one stop under max ISO. However a higher dilution was needed at two stops under max ISO as 1+9 gave too fast developing. Film developers will also work for this and they have usually a longer developing time under normal dilutions. Have tested Rodinal 1 to 200 part water which gave great results. Also note that a highly diluted developer will get exhausted faster. I usually do 6-7 4x5" papers in 500ml of 1+9 Dektol before replacing it. How long should you develop: The more common way would be tray developing in a darkroom with red safe light. Big advantage here is that you see the paper during the developing. What can make this a bit tricky is that your image under red safelights looks way more contrasty then it is. So it's very easy to look at a image and find it overexposed and stop developing, turn on the lights and it's under exposed. Can help if you have a already developed paper that you a happy with. Use that as a comparison in the darkroom as you develop. I also use a little table safe light which I can hold in my hand. Use this with a very low voltage lamp and hold this light as close as I can over the paper. Find this helpful to get a better view of details and stop developing after the black are really black. However even red safe light do eventually expose the paper so hold your light close to the paper with a higher voltage lamp and you might fog your paper. Other way like using a developing tank would be the same as for film. Except that you don't know the developing time so you will need to do some tests. Pre-Flashing the paper: This is when you expose your entire paper to a little bit of light so it gets a slight gray base exposure. You can do this before or after you taken your picture on the paper. By adding this extra light you lessens the contrast a bit and can also bring out a little bit more detail in highlights. Can apparently also raise the ISO of the paper slight. Haven't used this myself but think it can be very useful if you want to press the ISO to the max. Here's a helpful video about this by Joe Van Cleave: https://youtu.be/13PGOFqNruU That was all for this, but I also have some related posts about paper negative use: Info about paper negative Better results with Paper negative Enlarged darkroom print from a paper negative How to get the paint effect Want
to help me out?
Make my site known by sharing it with your friends and family. This helps and would be really appreciated, thanks!
My facebook page

|


 |