
Paper Negative
Enlarged darkroom print from a paper negative Tips and Tricks
Posted by Bengt Köhler Sandberg 2013-07-28 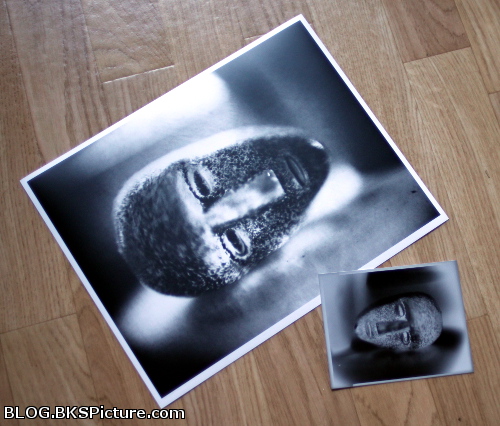 And yes it's very possible, a bit fiddly but not as hard and bulky as I first thought. I would however guess that it would not be practical for bigger enlargements. And the thickness of the paper will also play in how much light can go true the paper. I have so far only tested Foma fomaspeed variant 312 for this. The process is just as a normal film negative but the light going true the paper is a lot dimmer. So you need a lot more exposure and it's harder to find focus etc. But I turn off all safelights so the darkroom was completely dark during the time when I needed to see the projected image. Could then quite easily see what I was doing and used a normal focus finder to adjust the focus. It was a bit tricky because you don't see grain like you can on film. But not all that hard after some fiddling back and fought. Then for the exposure. You need a lot more then you usually do and instead of seconds you need minutes plus that you can't stop down the lens very much if any. 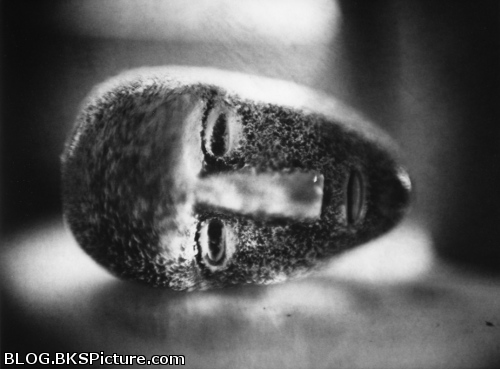 This example above is a print from a 4x5" paper negative which is enlarged to a 9.5x12" paper as the finished print. The enlarger lens used was a 135mm f/4.5. For one normal exposure I would need about 5-6 minutes at f/5.6 on Ilford's MGIV Satin paper. But here I used two exposures with different contrast filters. And the first exposure was 6 min and the secound was 5 min with dodging. One thing that also can be good to think about is light that seeps out of the enlarger. These are usually from places like the film holder etc. Most enlarger do this but it can vary a lot how much. This little light can bounce of walls and cause fogging on your print. A normal exposure and you will probably never see this but a exposure of minutes and things like this can start to show. The enlarger that I have used used had quite a lot of this and I took little paper to block out most of this light. This also goes for the safelights which I turn off during the exposures. Safelights will make a exposure on a darkroom paper giving it enough time. That was all for this, but I also have some related posts about paper negative use: Info about paper negative Better results with Paper negative Enlarged darkroom print from a paper negative How to get the paint effect Want
to help me out?
Make my site known by sharing it with your friends and family. This helps and would be really appreciated, thanks!
My facebook page

|
 |